Update: Vegetable Planting
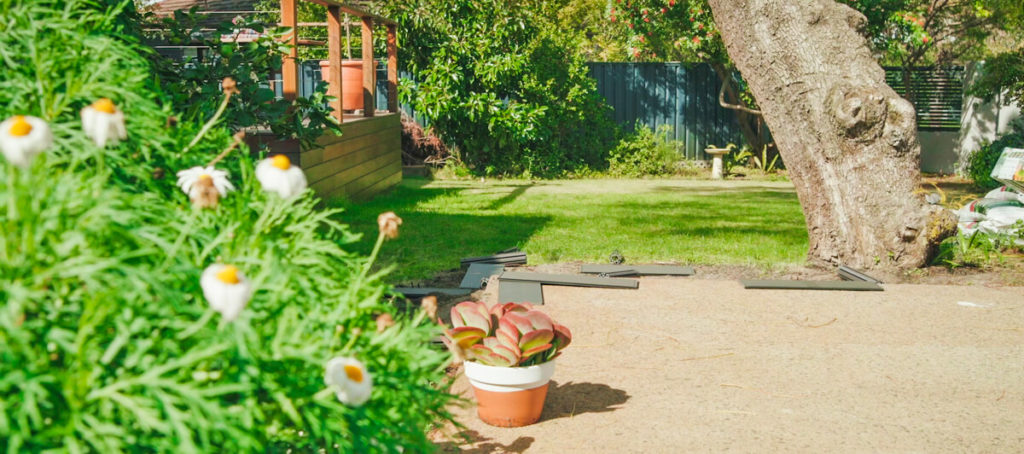
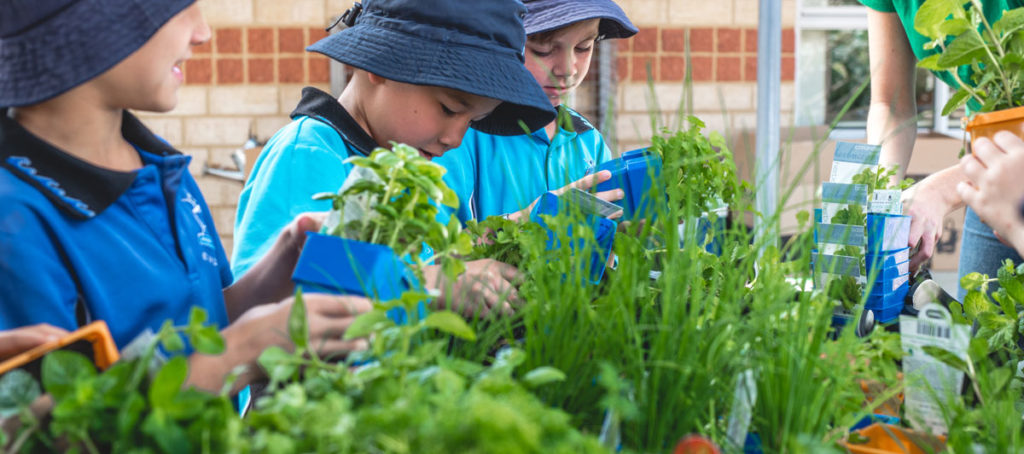
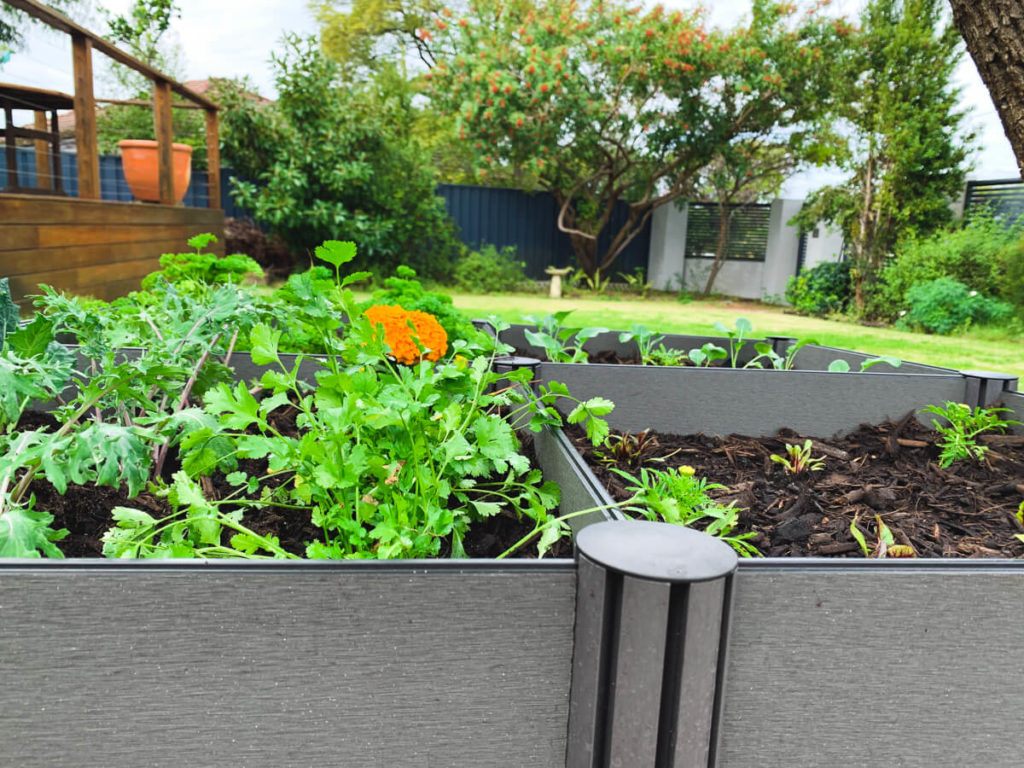
Creating a vegetable garden is an extremely rewarding activity that the whole family can enjoy! Transforming a paved space or shrinking the amount of unused lawn is a fun project for kids and adults alike. Garden Beds offer a fantastic hands-on education about plant germination and showing kids where food comes from.
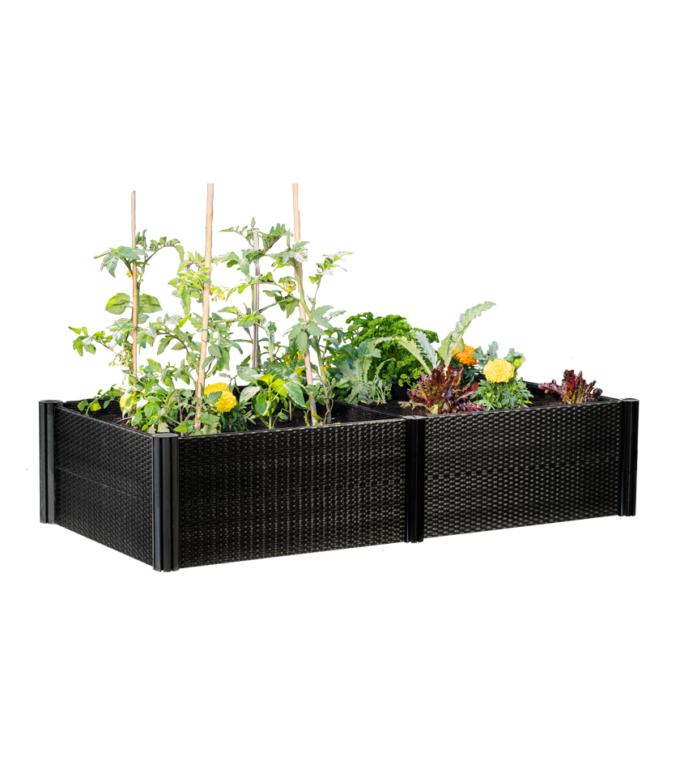
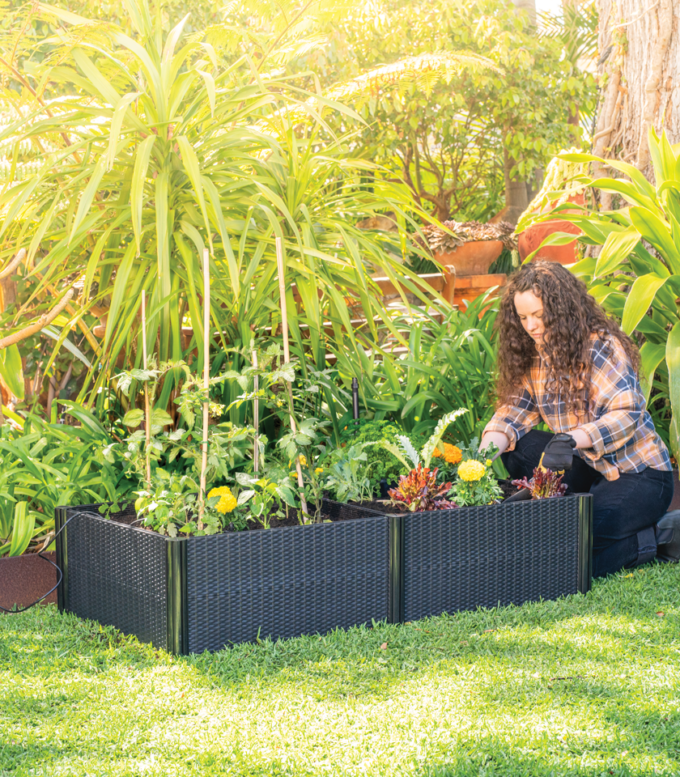
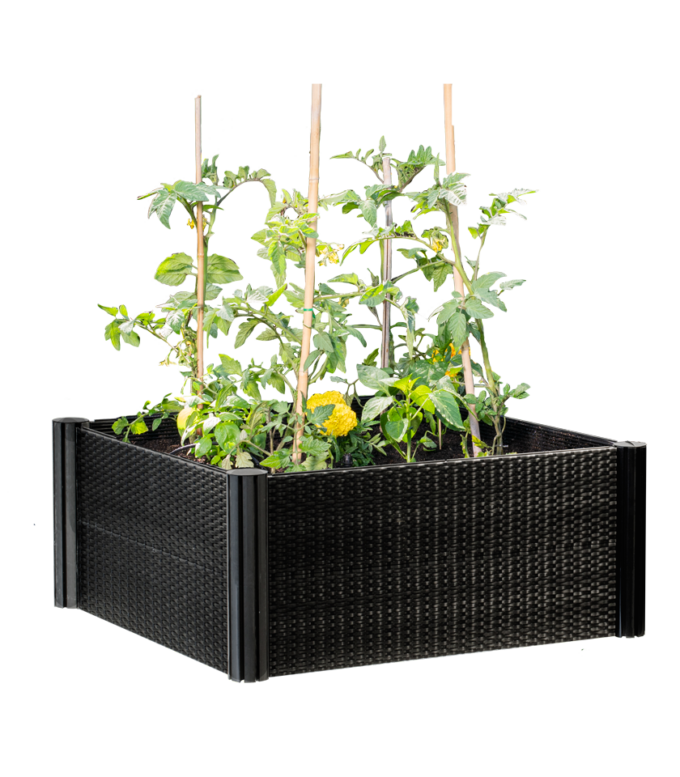
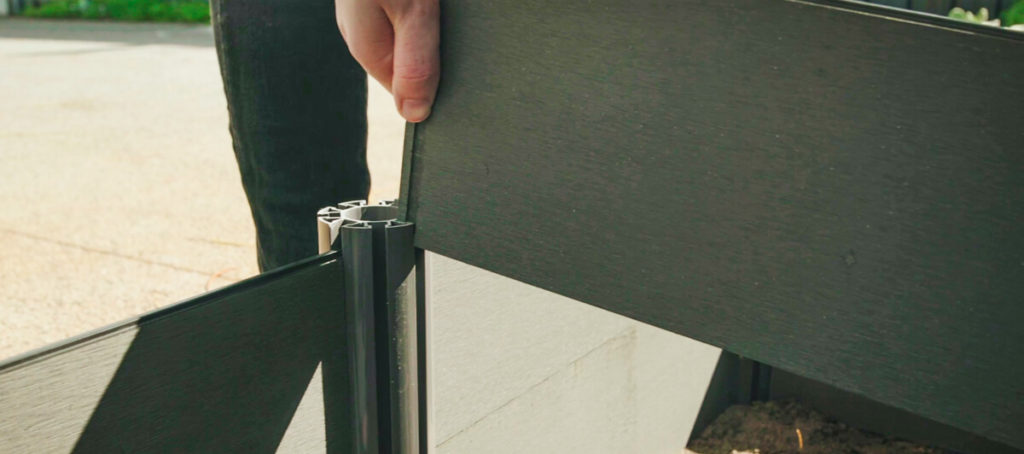
Raised Garden Beds are easy to install and allow anyone to set up a simple vegetable garden in a day! The DIY modular design can be arranged to fit any outdoor space or expanded to create a larger garden bed. No bolts, screws or tools are required. So, you can slot together the garden beds nice and quick and spend more time doing the fun stuff – planting!
Planning
The first thing you want to do is find a suitable space outdoors that will tolerate water run off and has adequate exposure to the sun. The majority of edible plants require full sun (5+ hours) to thrive, so monitor this space throughout the day before setting up your garden beds. On extra hot days, we suggest setting up a temporary 50% shade-cloth cover over your garden bed, view our how to guide here. This can be taken down once summer heat eases, rendering the position of your garden bed suitable all year round.
When choosing what plants, keep the weather in mind! Take a little time to learn the climate of your local area ensuring the best plant selection. During the cooler months, plants such as spinach, potatoes, lettuce, onion, peas, coriander and parsley are good choices – be sure to check your local weather report before buying your plants!
Measure out your chosen space and plan out your garden bed design. Select the herbs, vegies and companion flowers, taking note of planting distances. The Added Depth range (300mm deep) are ideal for vegetables, while the 150mm depth garden beds are suitable for herbs and salads with shallower root systems. Our garden beds are available in the following sizes:
Shopping List
1 x Raised Garden Bed
8 x Bags Premium Potting Mix
1 x 5m Weed Mat Roll
1 x Bag Lupin Mulch
13mm x 25m Poly Pipe
1x WX1 Tap Timer with Wi-Fi Hub
1 x Pair of Gardening Gloves
1 x Garden Hand Trowel
Plants and Seedlings of your choice
Set Up
We recommend laying down some weed-mat first before filling your garden beds will soil. This will ensure minimal soil run off on pavers and will prevent lawn roots from spreading and taking over if your garden bed sits on lawn. If you are setting up your garden bed on existing soil that is free from invasive root systems, you do not need to lay down a weed mat.
Fill the Garden Beds up with a premium quality potting mix or create your own by mixing three bags of regular potting mix with one bag of nutrient rich compost.
Planting
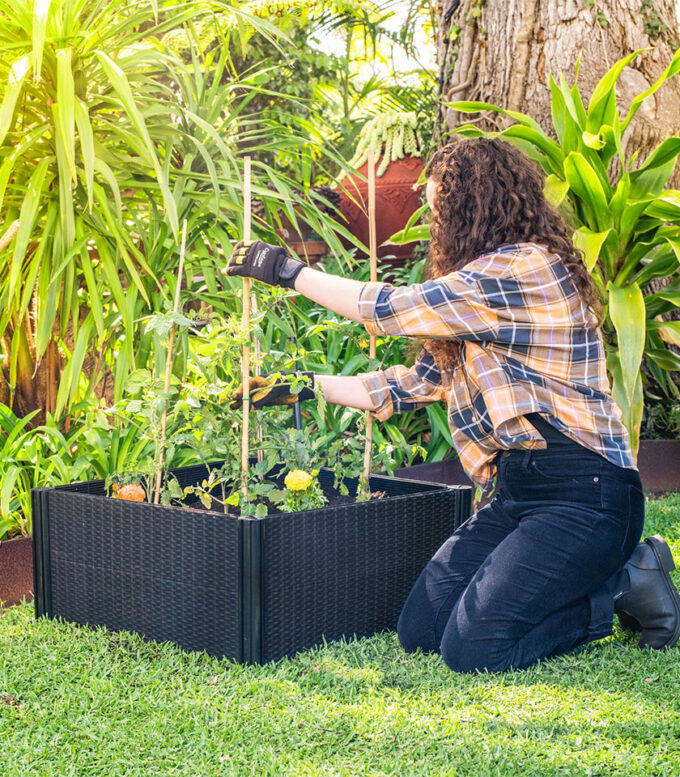
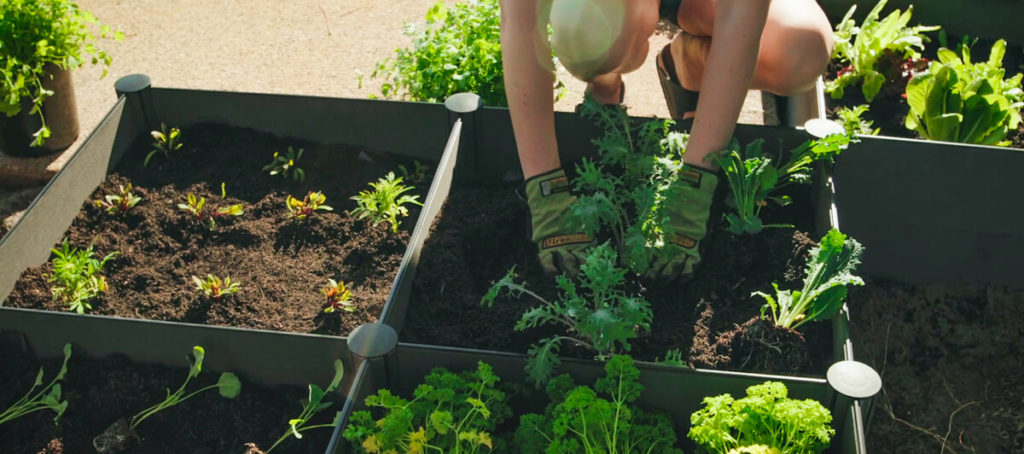
1. Refer to the seedling labels to find out how far apart you should plant your seedlings. Don’t forget they will grow so take care not to overcrowd your garden bed.
2. Lay your seedlings out on the soil to get an idea of how your plant arrangement will look.
3. When you are ready to start planting, squeeze the bottom of the seedling containers to ease the seedlings out. Gently ease apart the bottom of the roots on each seedling. This will help the small roots spread out and grow into the soil.
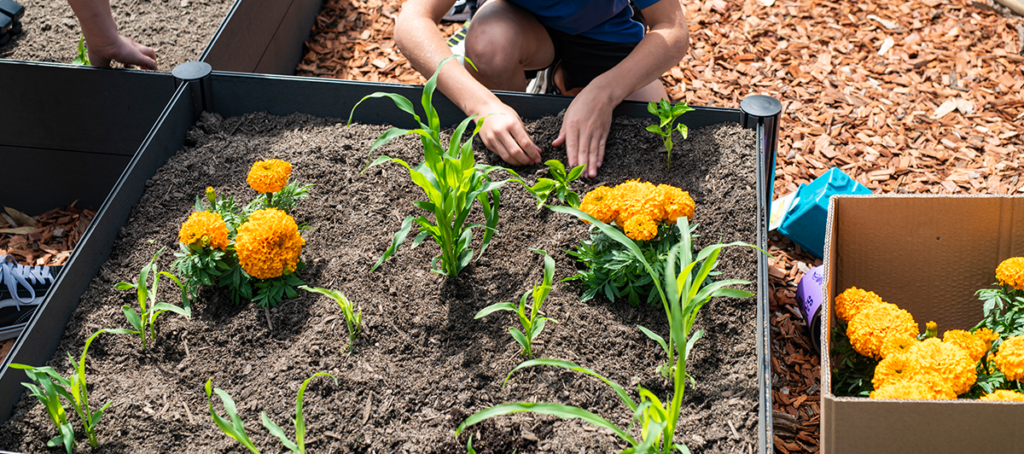
4. Dig your holes a small amount deeper than the depth of the seedling roots. Place each seedling in its hole and fill to the top with soil. Gently press down around the root base of each seedling.
5. When you are finished planting, apply a 2-inch layer of mulch around your seedlings. Do not mulch right up to the base of the plant as moist mulch gathering around the base can cause it to rot.
Watering
Check with your council or state water corporation for watering rules and restrictions that apply to your property. There may be restrictions in place around the style of watering you are allowed to use, how often you can water and which days you can water on. As a rule of thumb, schedule watering every 2nd/3rd day for 2-5 minutes in spring and every day for 2-5 minutes in summer. Everyone’s garden bed conditions will differ in sun exposure, temperature and air flow, so we recommend checking the soil moisture after the first few waterings and altering your watering schedule as necessary.
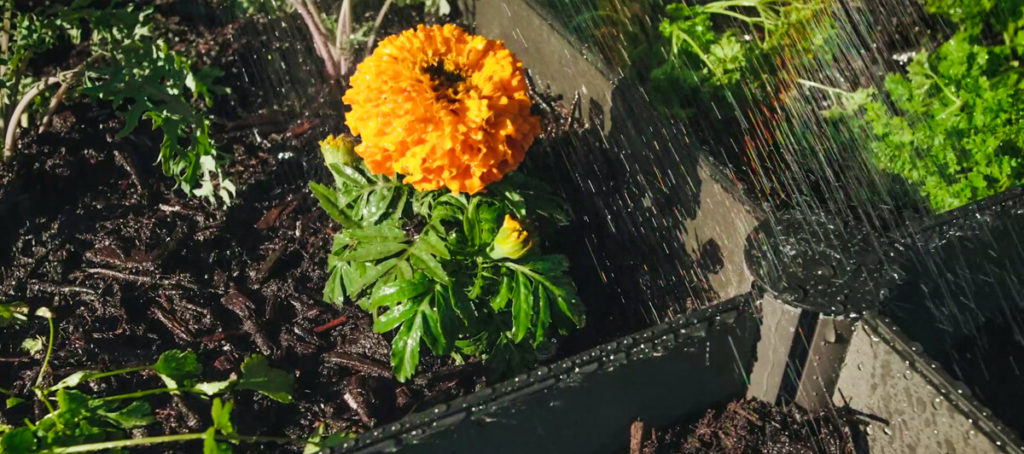
Holman Raised Garden Beds come with a DIY Irrigation System for easy watering. Connect them up to a Holman Tap Timer for automated on and off operation. Set the timer to water early in the morning or in the evening, when evaporation is least likely to occur. If you are restricted to hand watering or using drip irrigation, you can easily connect drippers (not included) to the black tubing in place of the provided sprinkler.
Follow these steps to set up the included irrigation:
1. Insert sprinklers into the centre of your garden beds and measure out the amount of poly pipe required to join them. Cut to the length needed.
2. Attach the 4mm poly pipe to the Twista Spray.
3. Attach the drip faucet to the other end of the poly pipe.
4. Screw the snap on adaptor onto the drip faucet and connect your garden hose.
5. Connect the irrigation system of the Raised Garden Bed to Holman Poly Pipe or Garden Hose and to a Holman Tap Timer. This will provide your garden bed with regular automatic watering.
Maintenance
The great thing about vegetable gardens is that they are a constant source of entertainment for you and your family. From harvesting to composting and weeding, they provide lots of quality time outdoors. Staying on top of maintenance ensures your garden stays healthy throughout the season and the soil stays in peak condition for future plantings.
Composting
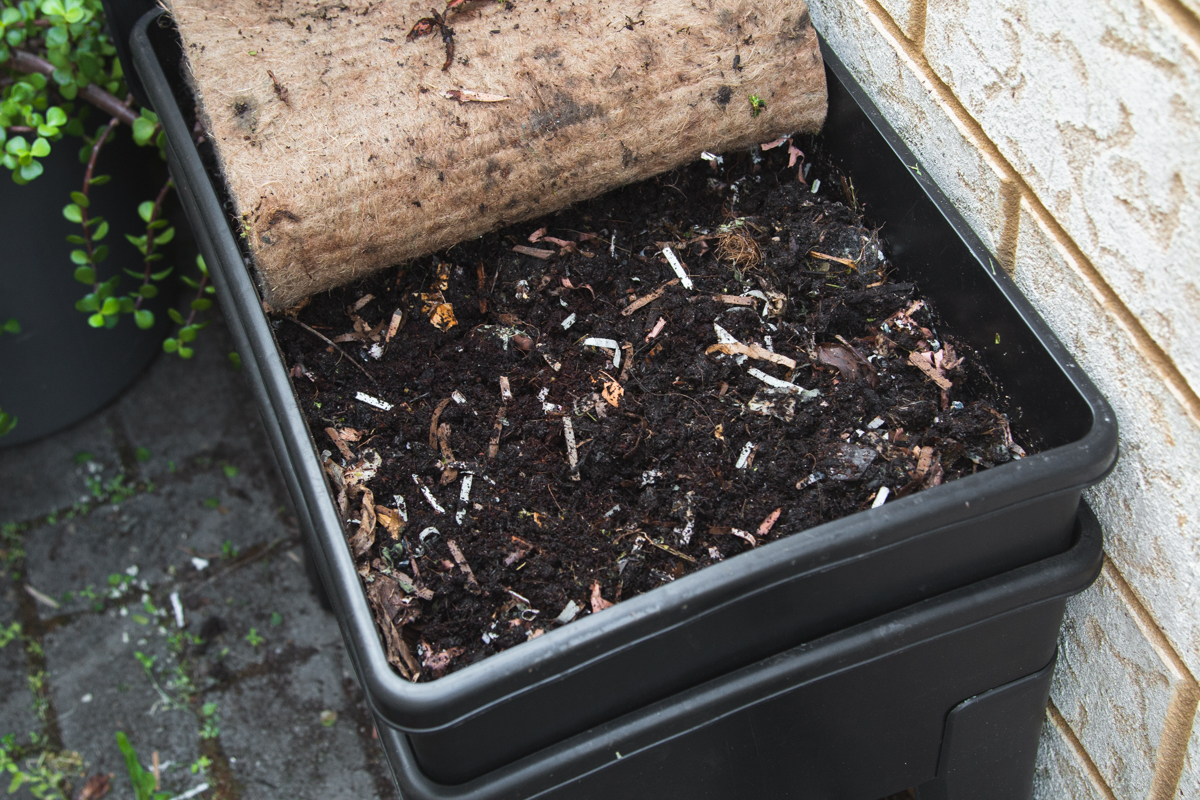
If you have a medium to large garden, making your own compost is a great idea. Plants require nutrient rich soil to grow, making your own compost is an effective of reducing waste from your kitchen that is usually sent to landfill. Creating compost in your own home is a wonderfully educational experience for children, teaching them the cyclical journey of edible food and plants. Make sure to bury your compost layer under a layer of dirt, so animals aren’t tempted to have a go at eating it.
Building a worm farm is a great alternative is reducing food wastage. They’re perfect for breaking down organic matter, like fruit and vegetables scraps, then turn it into worm casting (rich plant food) and warm tea (liquid fertiliser) that can be used on your new vegetable garden!
Explore our full range of Raised Garden Beds, and start growing food in your own garden today.



 No products in the cart.