| Weight | 0.43 kg |
|---|---|
| Dimensions | 100 × 130 × 150 mm |
25mm Solenoid Valve
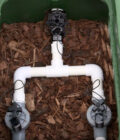
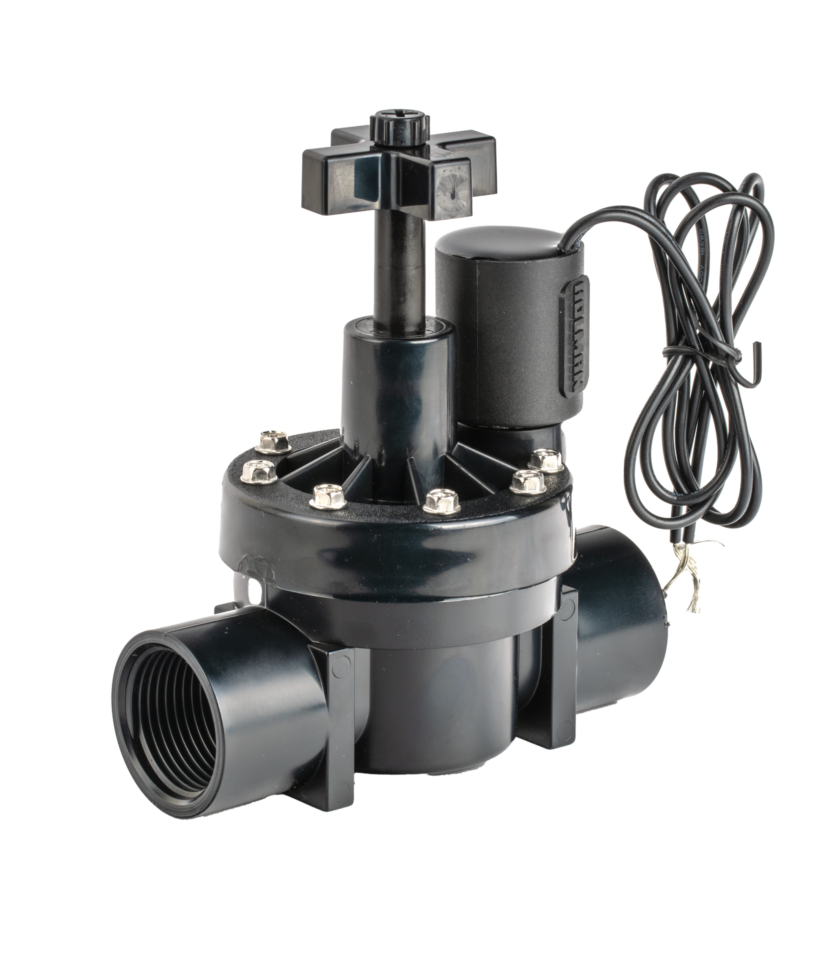
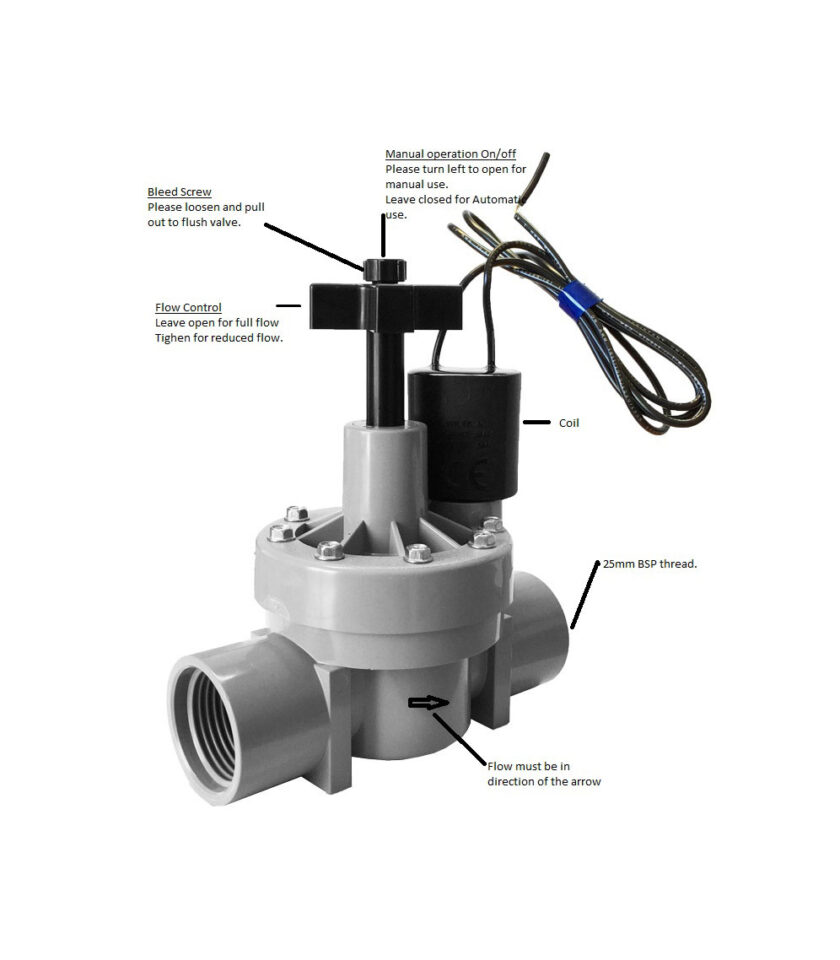
The 25mm solenoid actuated diaphragm valve is designed for reliable long life performance in landscape and garden irrigation systems. The solenoid valve is operated by a 24VAC electric signal and is compatible with all conventional irrigation controllers. The valve has a 25mm BSP female threaded connection and is available with a flow control feature.
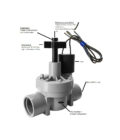
- Straight Flow Path – minimal pressure loss
- Manual Bleed Screw – For operation with no power
- Internal Bleed by turning Solenoid
- Flow Control/Handle removable for tight installations
- Minimum parts for ease of Service and Durability
- 25mm BSP female threaded
Installation
BEFORE INSTALLATION
1. Flush System thoroughly before installing valves.
2. Make sure you have sufficient water supply, pressure and flow.
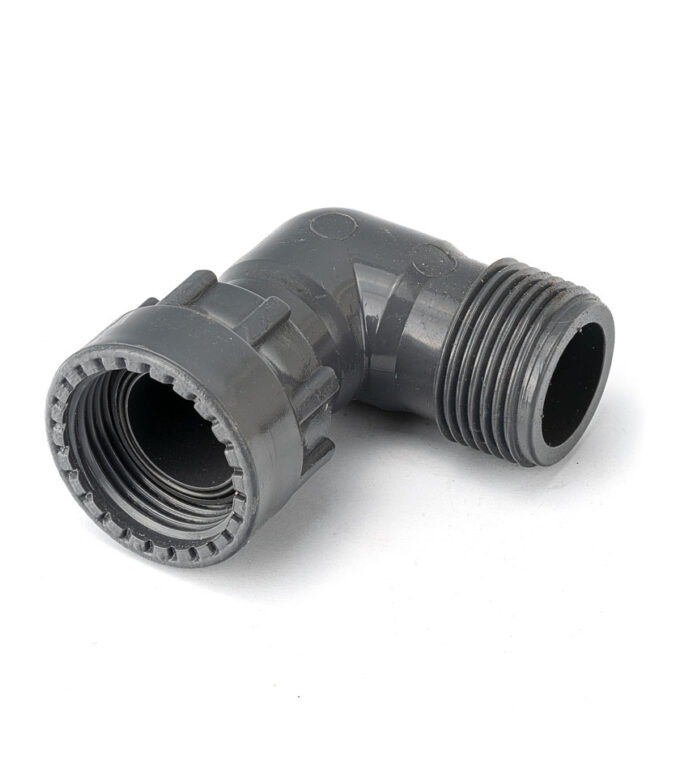
INSTALLING VALVE WITH ADAPTORS
1. Wrap adaptors with 2 or 3 complete wraps of Teflon Tape around threads.
2. Hand tighten adaptors into valve
3. Carefully tighten the adaptors one additional turn past hand tight.
4. Do not use Flow Control handle as a lever.
CAUTION: DO NOT OVER TIGHTEN ADAPTORS
OPERATING VALVE MANUALLY
1. Open Bleed Screw anti-clockwise, water will exit screw hole and valve will open.
Fault Finding
“SOLENOID VALVE FAULT FINDING GUIDE”
This guide can be very useful in determining whether a valve has a manufacturing default or simply not working due to incorrect or poor installation. Most valve problems are attributed to dirt getting into the valve during installation. Below is a list of possible causes for a solenoid valve not to operate:
• Has the valve been installed the right way? A solenoid valve must be installed the correct way. If installed the wrong way around it will not operate properly. An arrow indicating the flow direction is clearly marked on the valves body.
• Is there an “0” ring under the coil? Unscrew the coil and ensure that there is an “o” ring seal finger.
Solenoid not opening – It could be dirt or grit that enters the valve when replacing a sprinkler or working on the line and this can easily be fixed by removing the bleed screw, which allow you to give it a flush, by turning the valve on manually at the Controller and this will let the water to gush out of the valve, cleaning out all the dirt. NEVER use a lubricant spray as this will only attract dirt and cause further problems.
• Has the flow shaft been set correctly? Some solenoid valves have flow control which is basically used to control the flow or volume of water through the valve. If the flow control is screwed down, it is restricting the opening of the diaphragm and therefore limiting the flow of water through the valve. Therefore, ensure that this (if available) is open or set correctly when required.
• Are the internals of the solenoid valve clean? Sometimes dirt or grit can enter the valve and cause a blockage.
Other additional information: – In most cases manufacturing defaults are rare. Generally if a valve can work manually, its internals are o.k. Check that the coil is not burnt out. You can do this by trying out that valve with the coil from a valve that is working. Alternatively you can remove the coil, and by holding any wire from the coil at the controllers ‘active’ station terminal and placing the other wire from the coil at the ‘common’ terminal, the plunger should pull in when that station number is switched on (the plunger acts like a magnet when the coil receives a current from the controller). When doing this, it doesn’t matter which wire from the coil is “common” and which one is “active”. Other possible faults that may cause a valve not to operate (from the controller) include cut or damaged wires, poor wire connections, a blown transformer or a blown fuse (which is generally blown due to a poor wire connection). Most controller instruction manuals have a “fault finding” guide to further detail possible controller faults. Contact your supplier should further assistance be required.
Video
SPECIFICATIONS:
- Pressure – 20psi minimum to 150psi Maximum
- Voltage – 24 vac, 60 cycle .4 amps inrush, .25 amps holding
BEFORE INSTALLATION:
1. Flush System thoroughly before installing valves.
2. Make sure you have sufficient water supply, pressure and flow.
INSTALLING VALVE WITH ADAPTORS:
1. Wrap adaptors with 2 or 3 complete wraps of Teflon Tape around threads.
2. Hand tighten adaptors into valve
3. Carefully tighten the adaptors one additional turn past hand tight.
4. Do not use Flow Control handle as a lever.
OPERATING VALVE MANUALLY:
1. Open Bleed Screw anti-clockwise, water will exit screw hole and valve will open.

 No products in the cart.