The Holman Garden Lights can be used with a range of techniques that enhance the visual appeal, safety, space, mood and flow of your home and garden.
Learn about different lighting display techniques and how you can use these in your garden. Garden lights are a great way of extending your time outdoors allowing you to get ready before daylight savings ends.
1. Draw up your plan
You should always sketch a rough plan before creating your outdoor lighting display, noting the key architectural and landscape features you wish to highlight. Your plan should consider:
- An outline of the house, pathways, driveways, kerbs, garden beds and the types of fixtures best suited to each area
- The size and position of focal elements such as trees, water features, structural designs
- How much space is needed between each light to create the desired effect
- The location of power points or supply
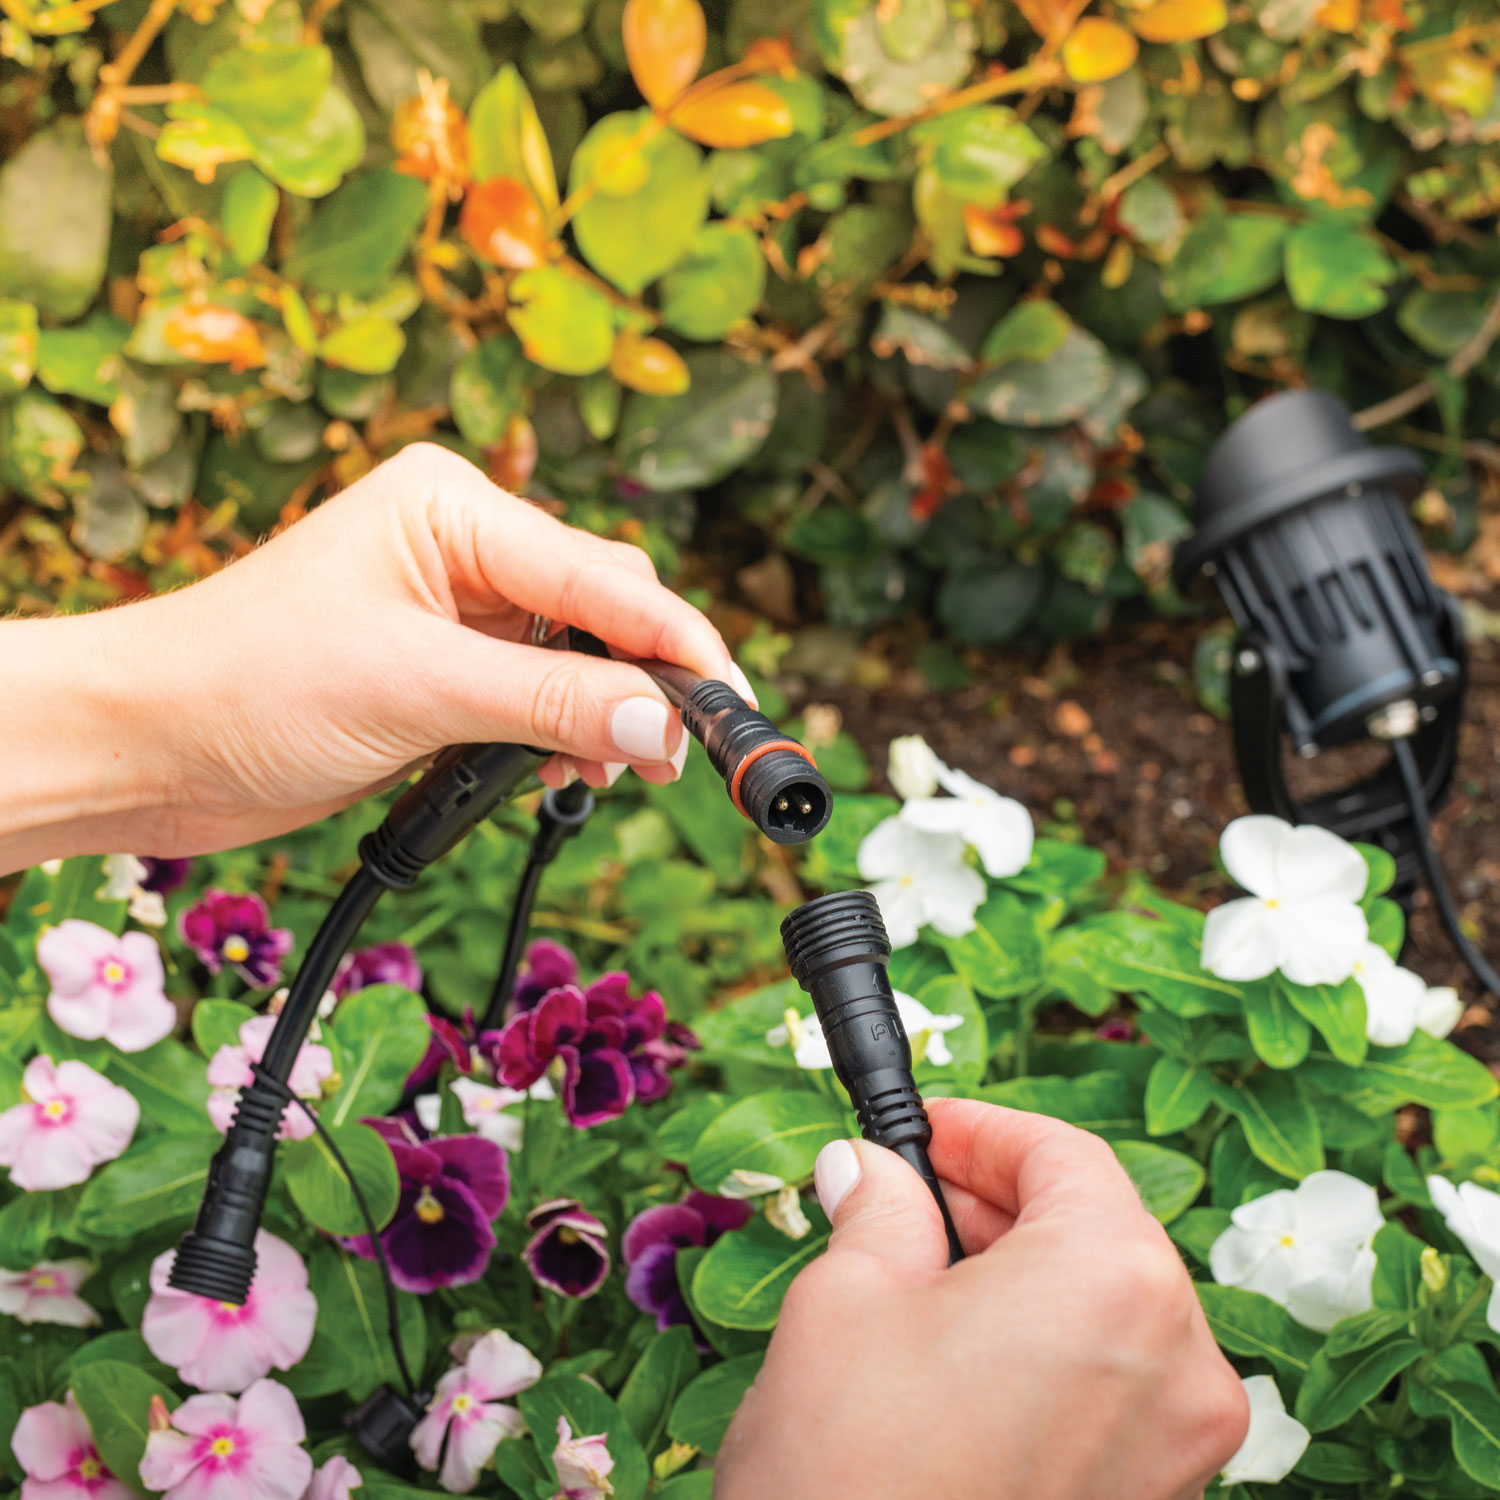
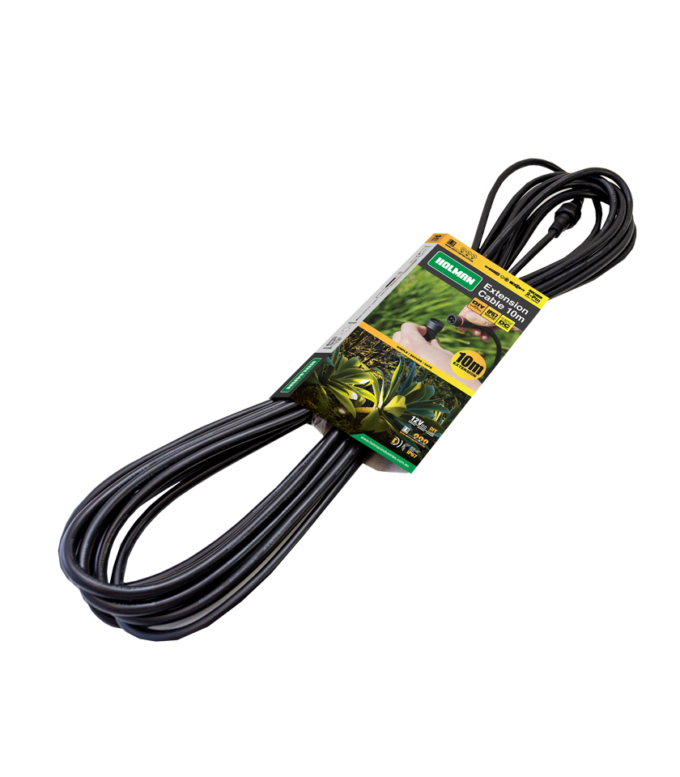
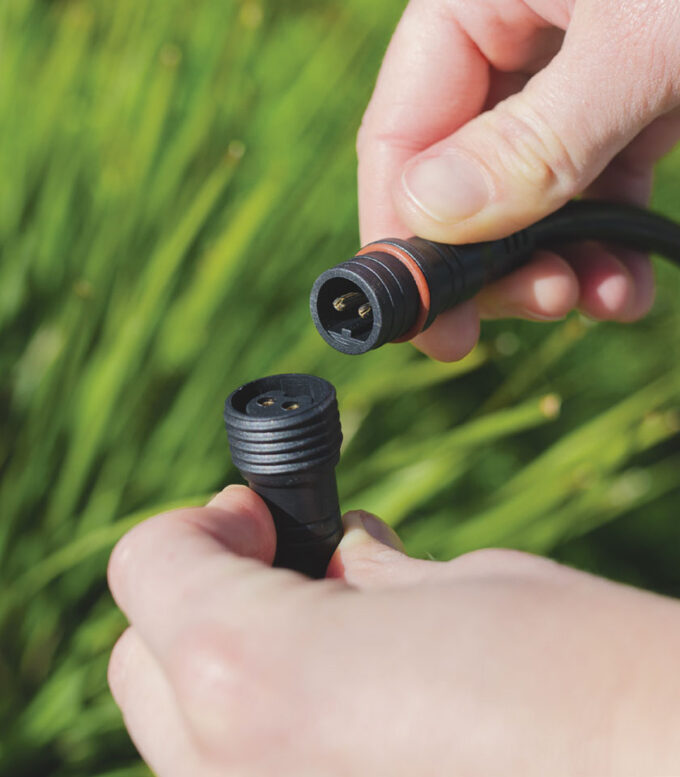
2-Pin cabling is used for all Warm White garden lights.
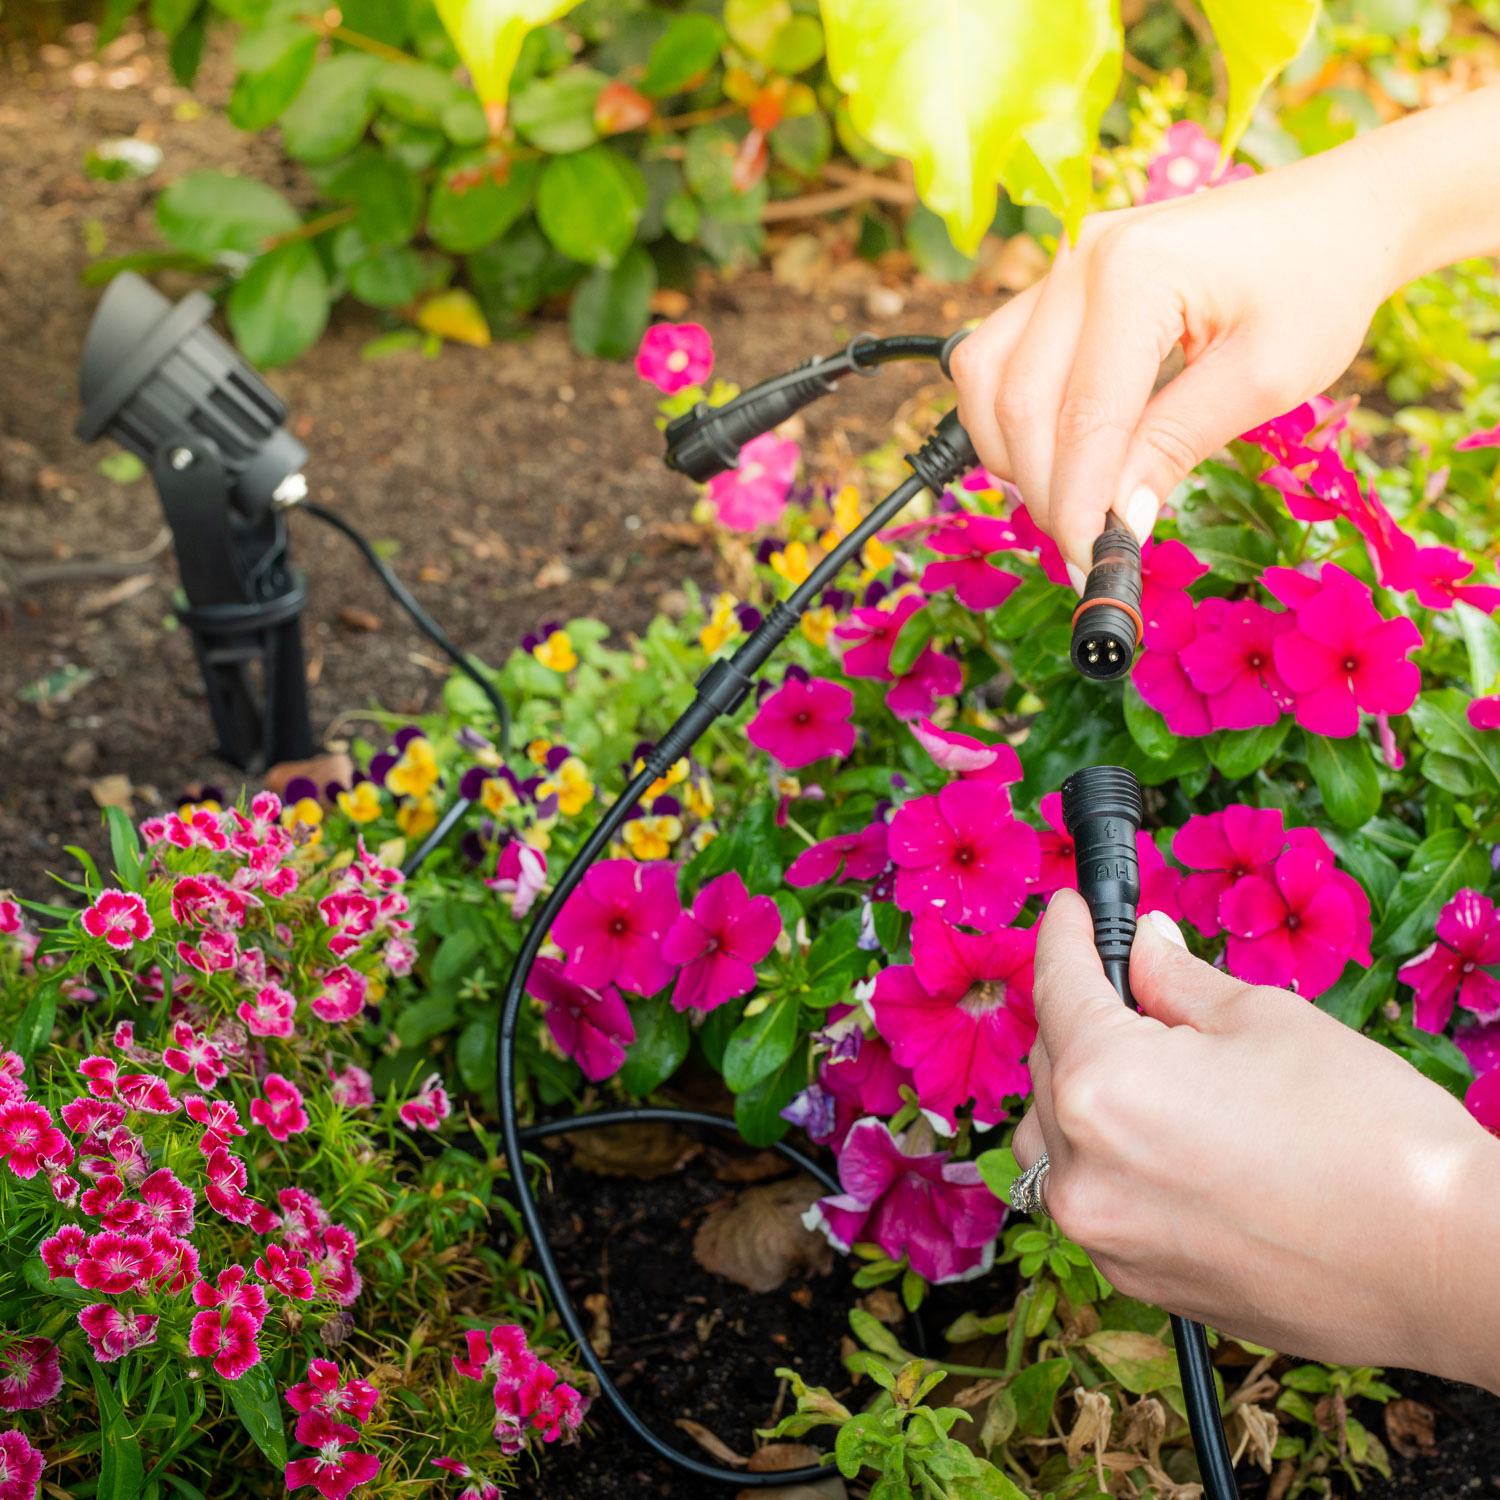
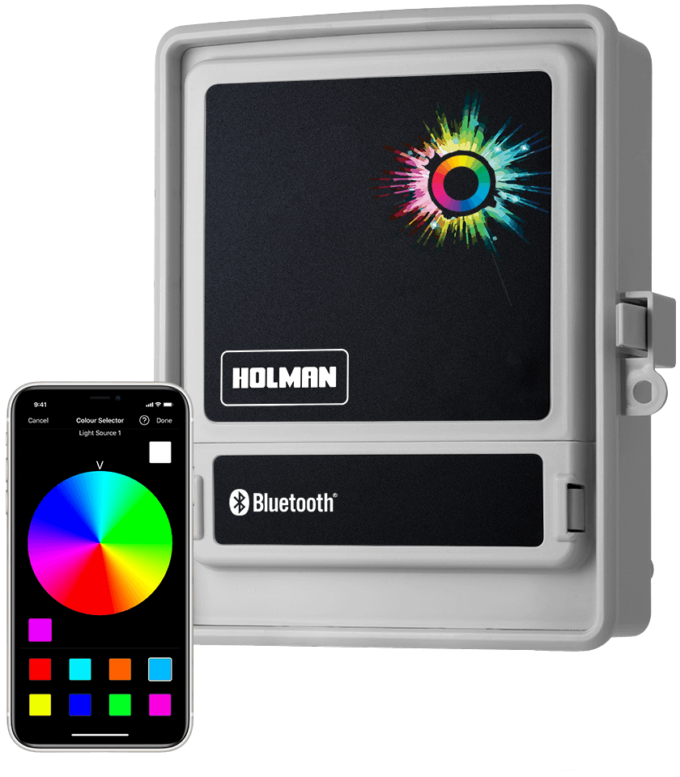
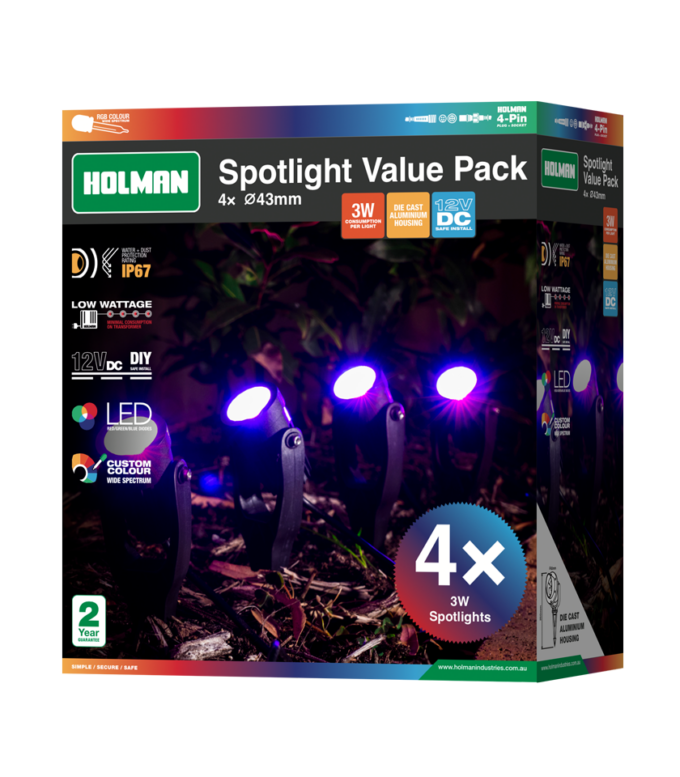
4-Pin cabling is used for all RGB Colour garden lights.
2. Choose your colour scheme and light fixtures
Choose between our range of 2-Pin Warm White or 4-Pin RGB Colour garden lights, remember that these systems are not compatible with each other. It’s easy to modify and expand your lighting design once you’ve chosen your colour scheme.
Using your plan as a guide, select the fixtures best suited to your garden layout.
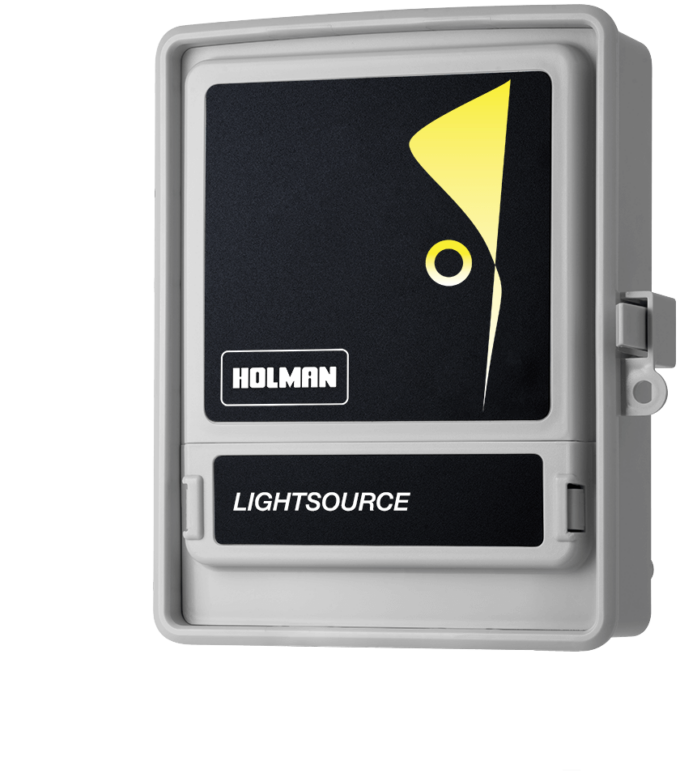
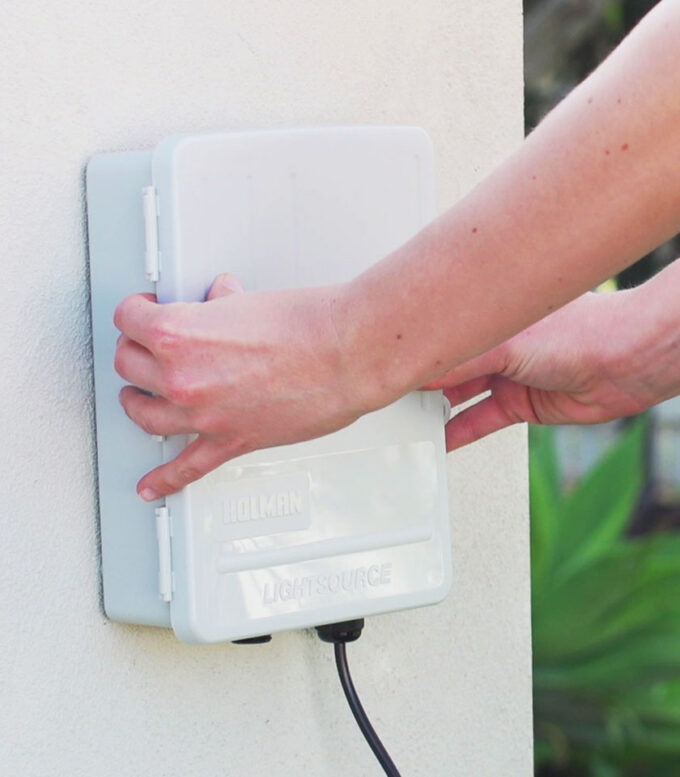
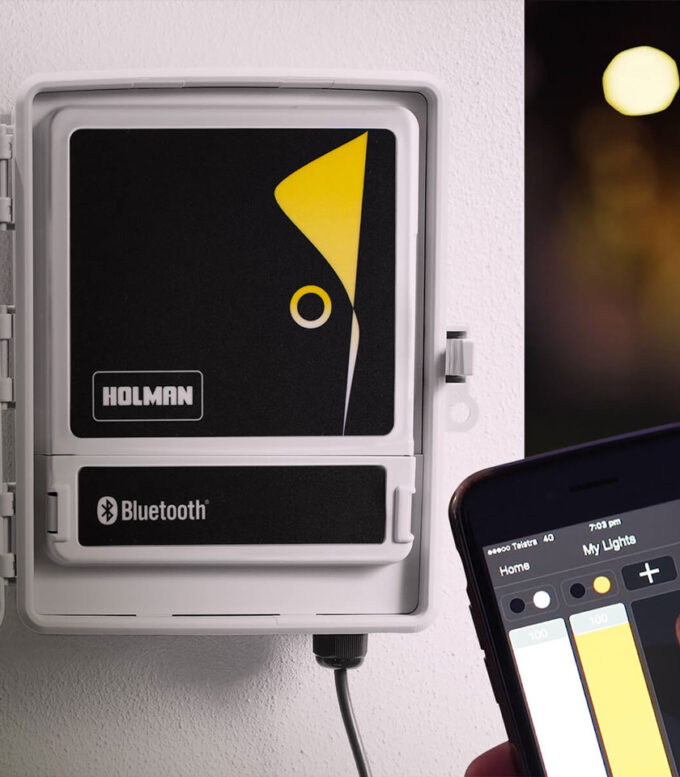
Work out the total wattage of the lights included in your plan prior to installation. The wattage of each light can be found on our lighting product pages and packaging. Lightsource controllers have a maximum capacity of 60 watts. If your design exceeds the 60-watt limit you will need another controller to power your lighting display.
Lighting Display Techniques
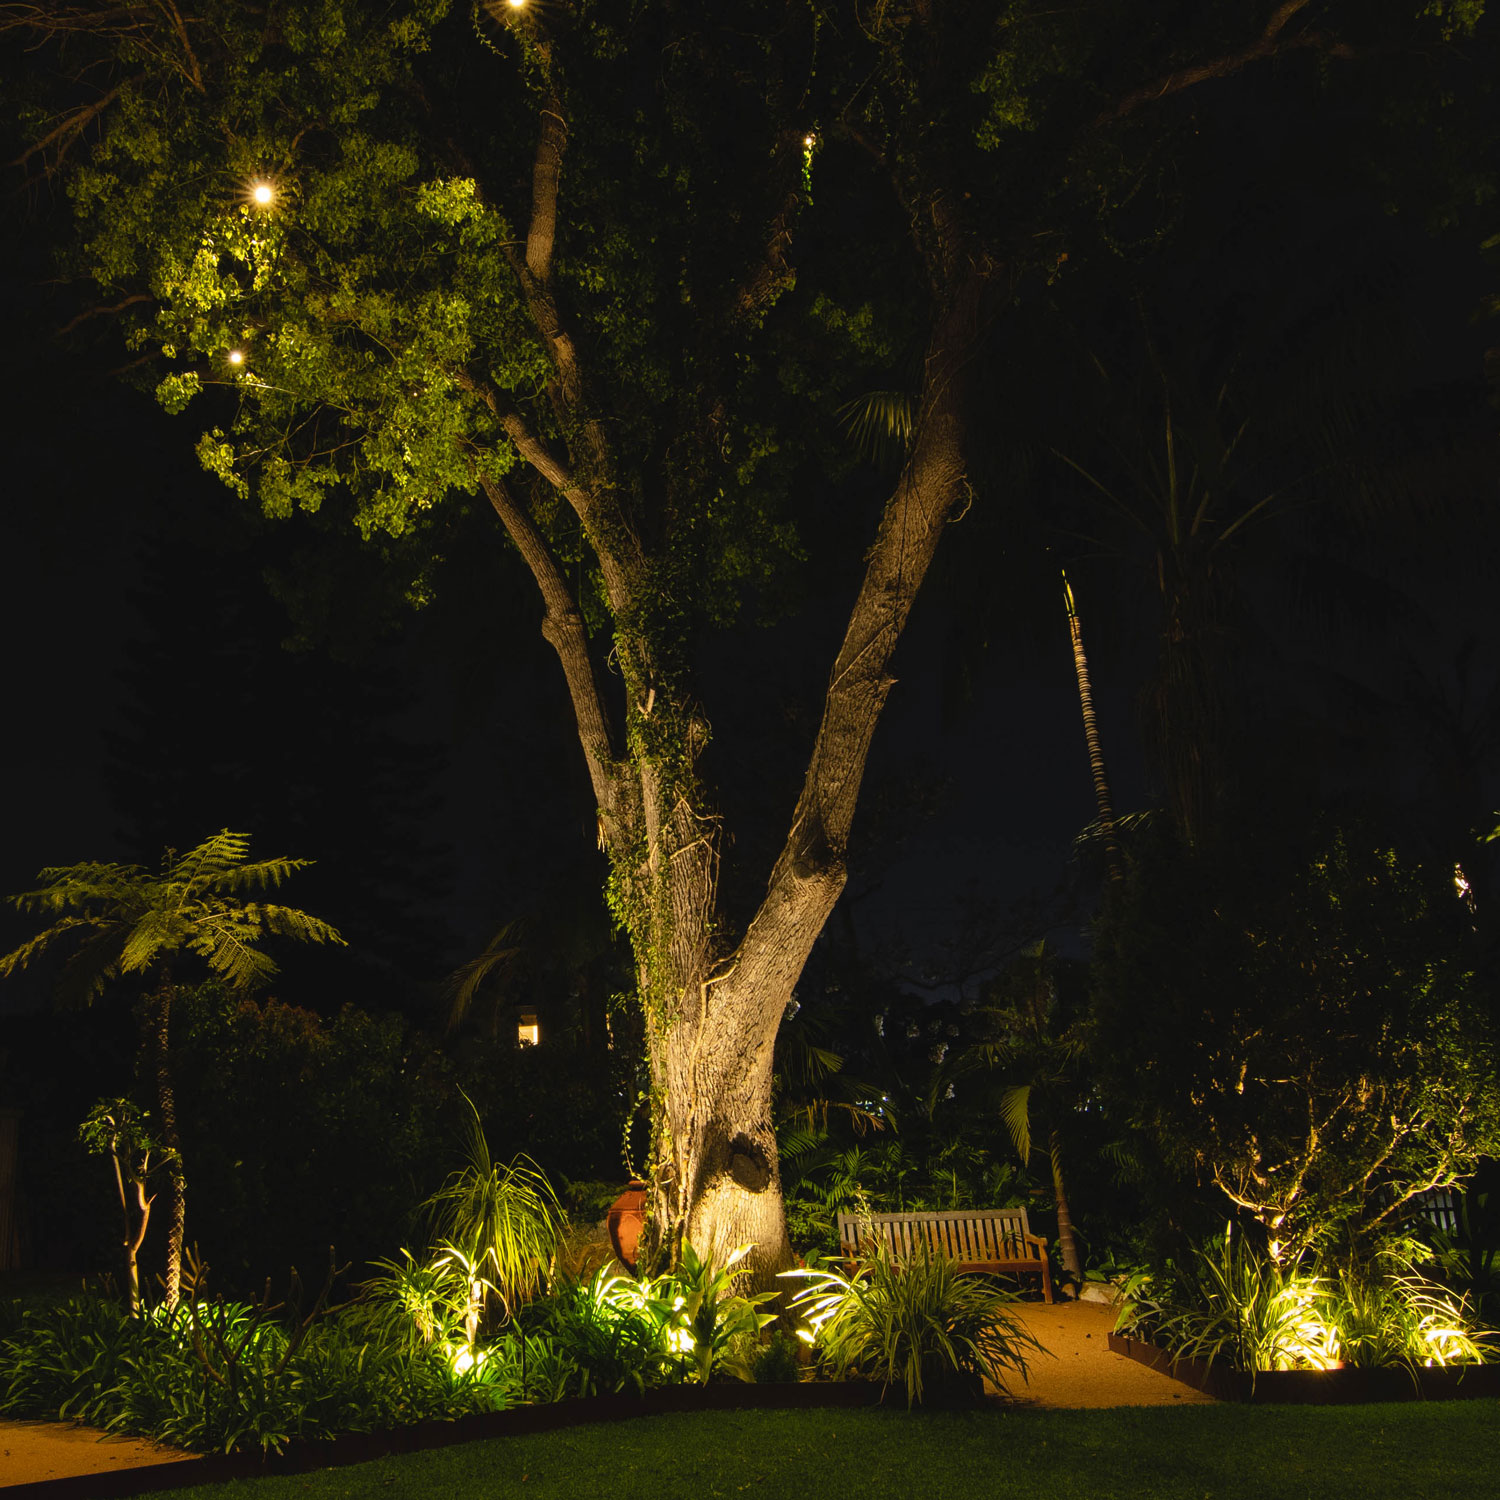
Uplighting
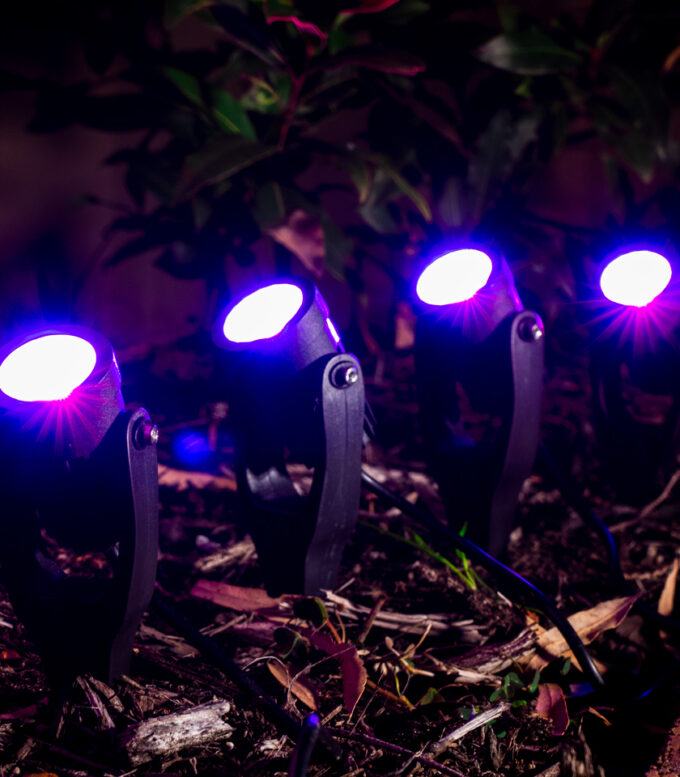
Enhance your garden’s focal points by illuminating key structural features and plants. Highlight significant trees and water features by positioning lights upwards towards key garden elements. Place spotlights 15-20cm away from the object being illuminated and position the fixture upwards at a 45º angle. Use 75mm or 100mm spotlights to uplight larger fixtures, and the smaller spotlights to add depth within plant foliage and line garden beds.
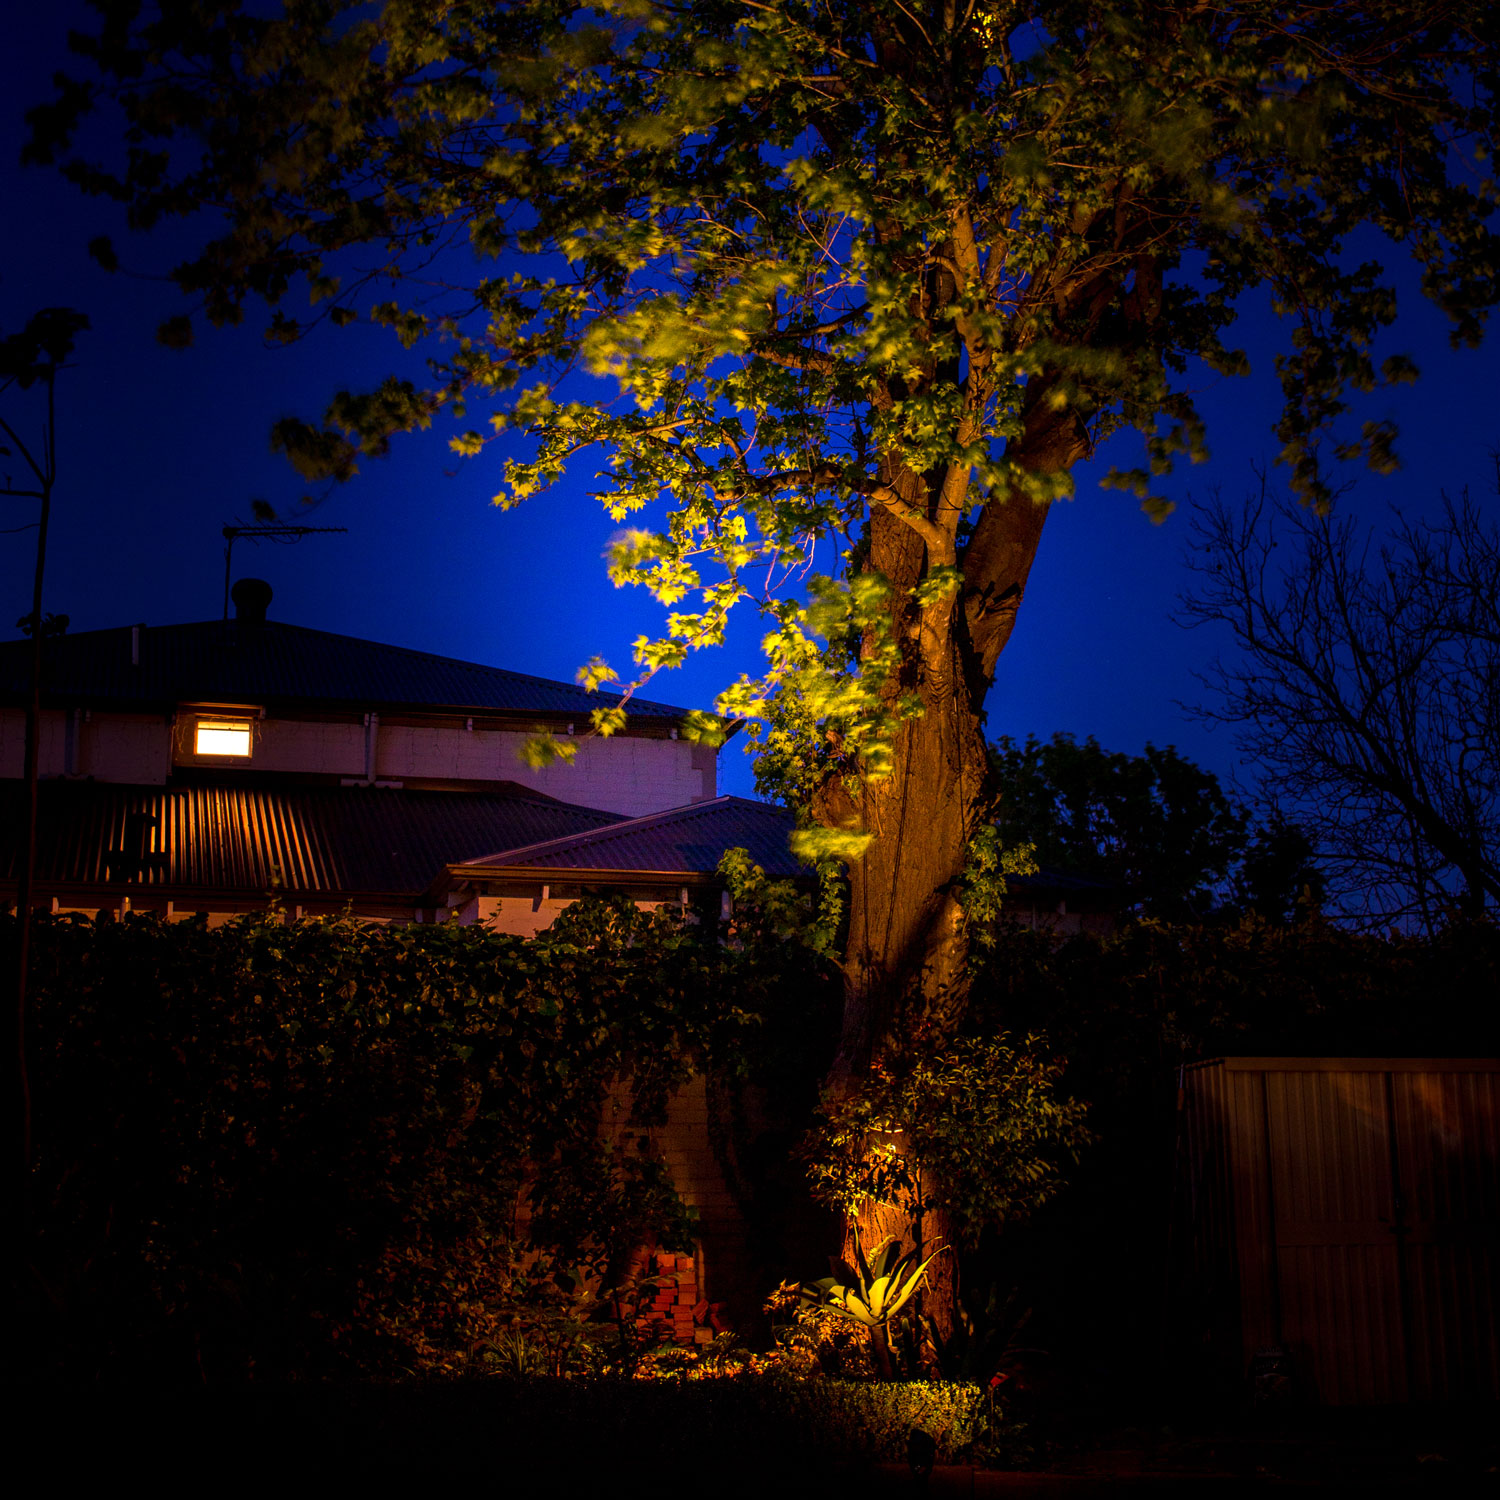
Silhouetting
Also known as backlighting, silhouetting is used to dramatize a distinctive object or feature to create a mysterious and compelling effect. This technique is best used on objects and plants with distinctive or unique shapes. Use spotlights to illuminate a surface that can act as a backdrop to dense plant material.
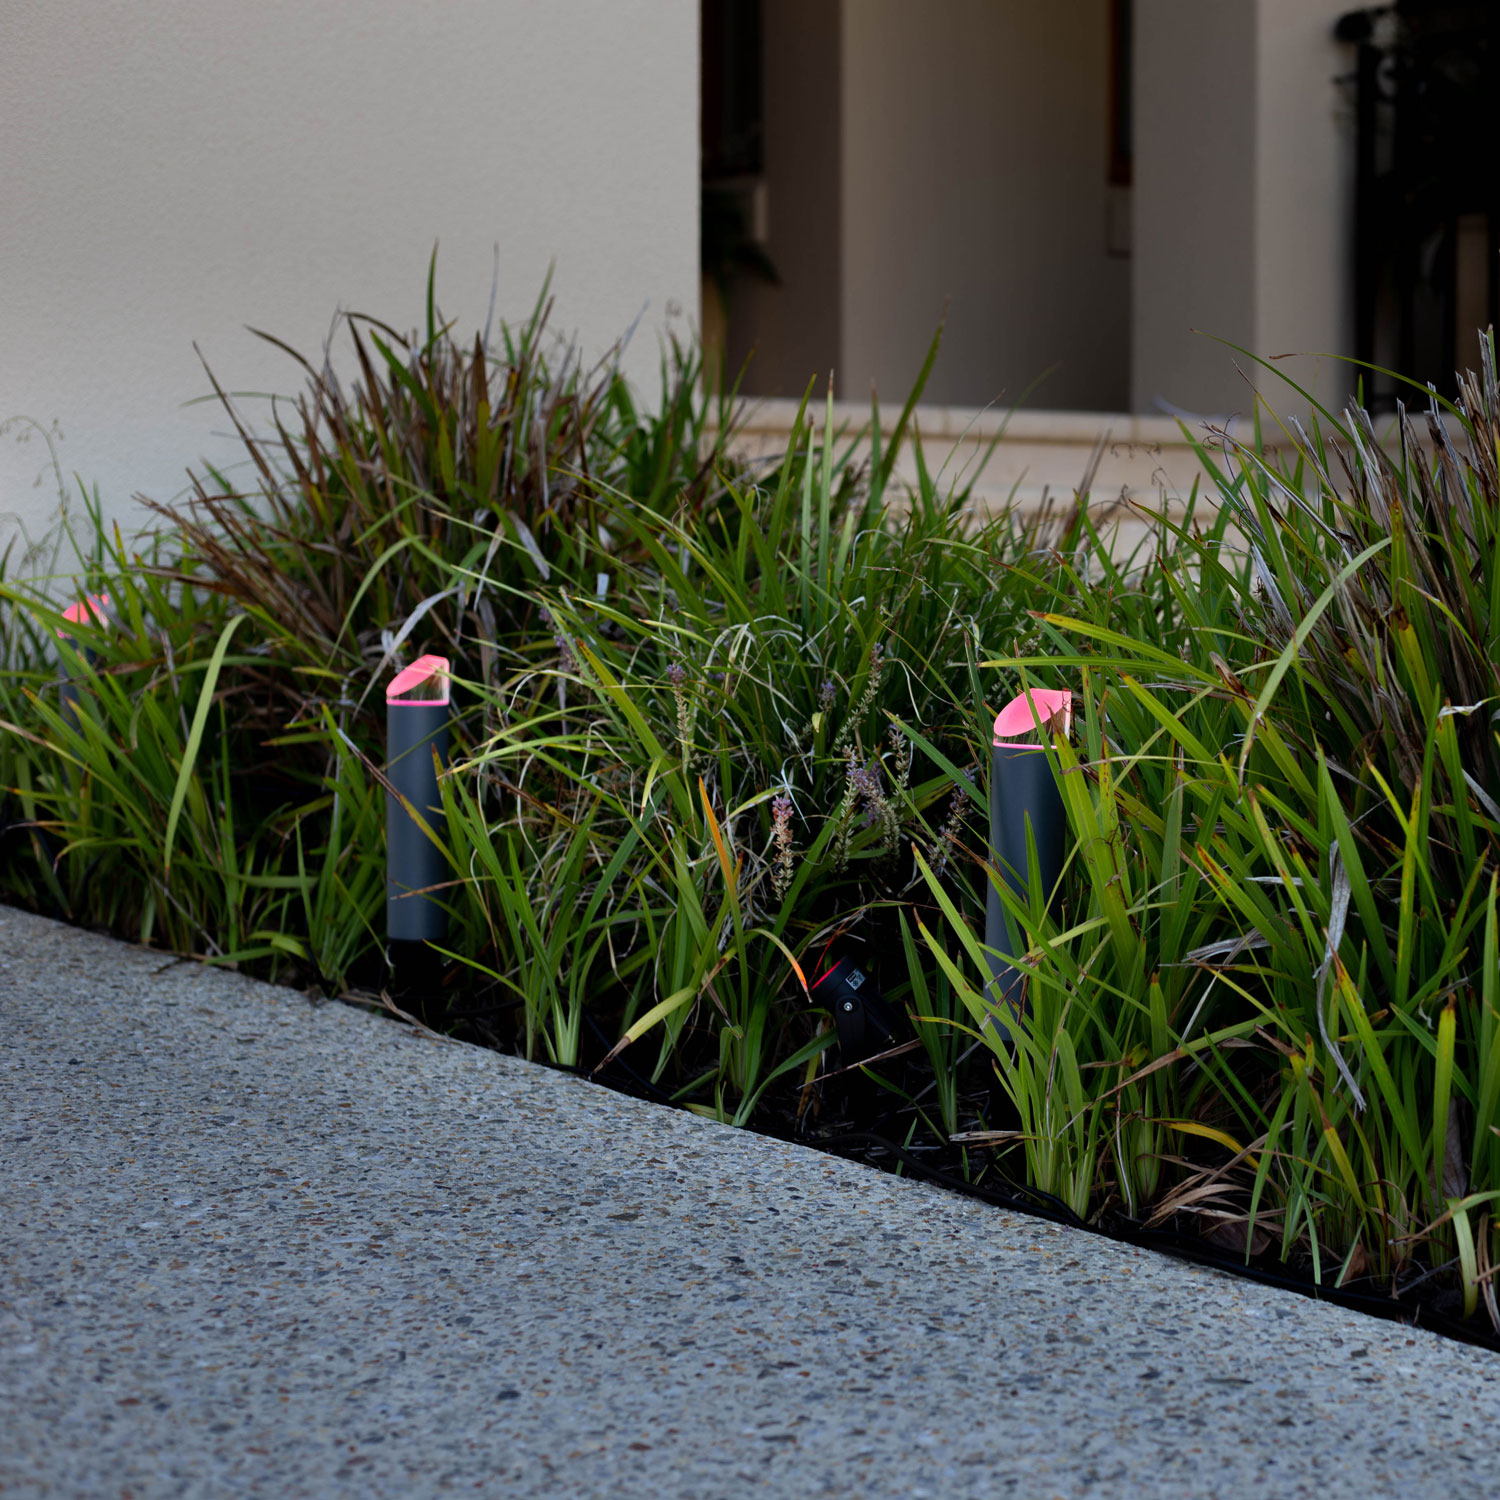
Path Lighting
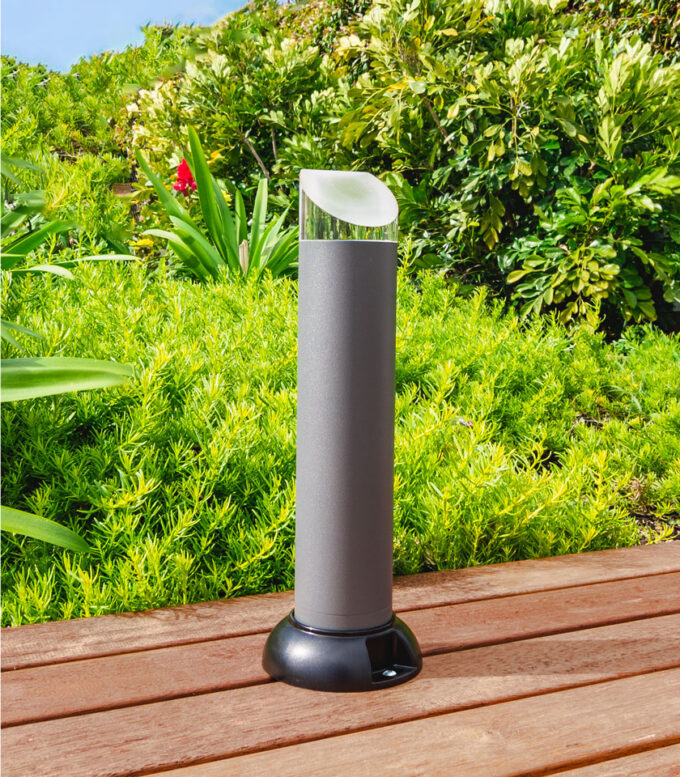
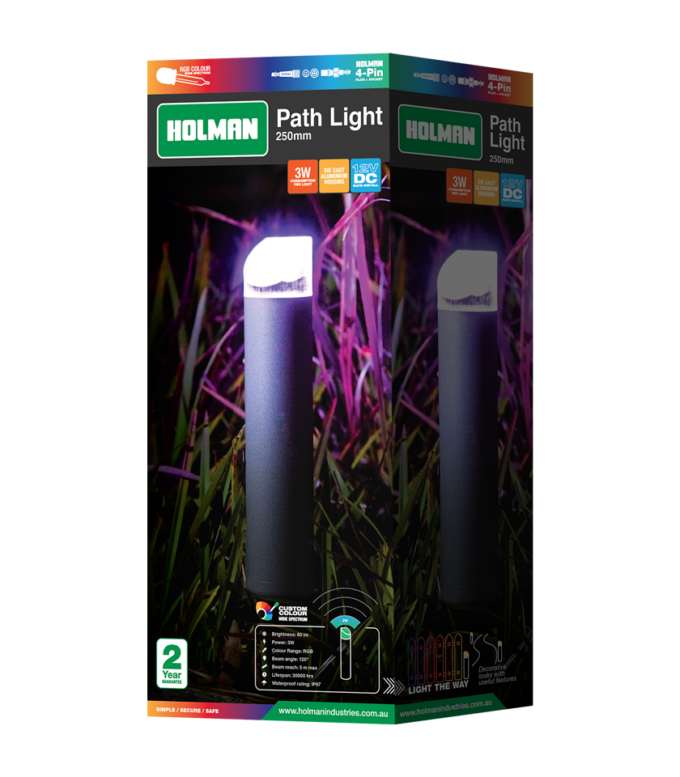
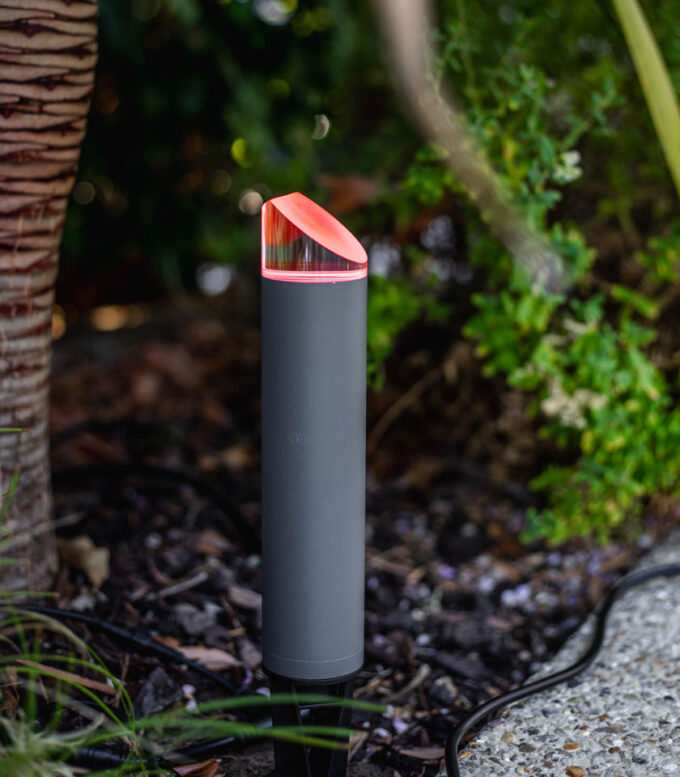
Create a continuous stream of soft light along walkways and driveways to increase the safety and security of a home. Path lights should be low to the ground, non-glaring and strategically positioned to create elegant lines and contours in your garden. Utilise Path Lights along walkways to create a statement entrance or illuminate the key features of your home.
Tip: Space and position fixtures to provide visually appealing illumination along key paths and walkways. Avoid over lighting or runway style illumination, it feels unnatural and is un-aesthetically pleasing.
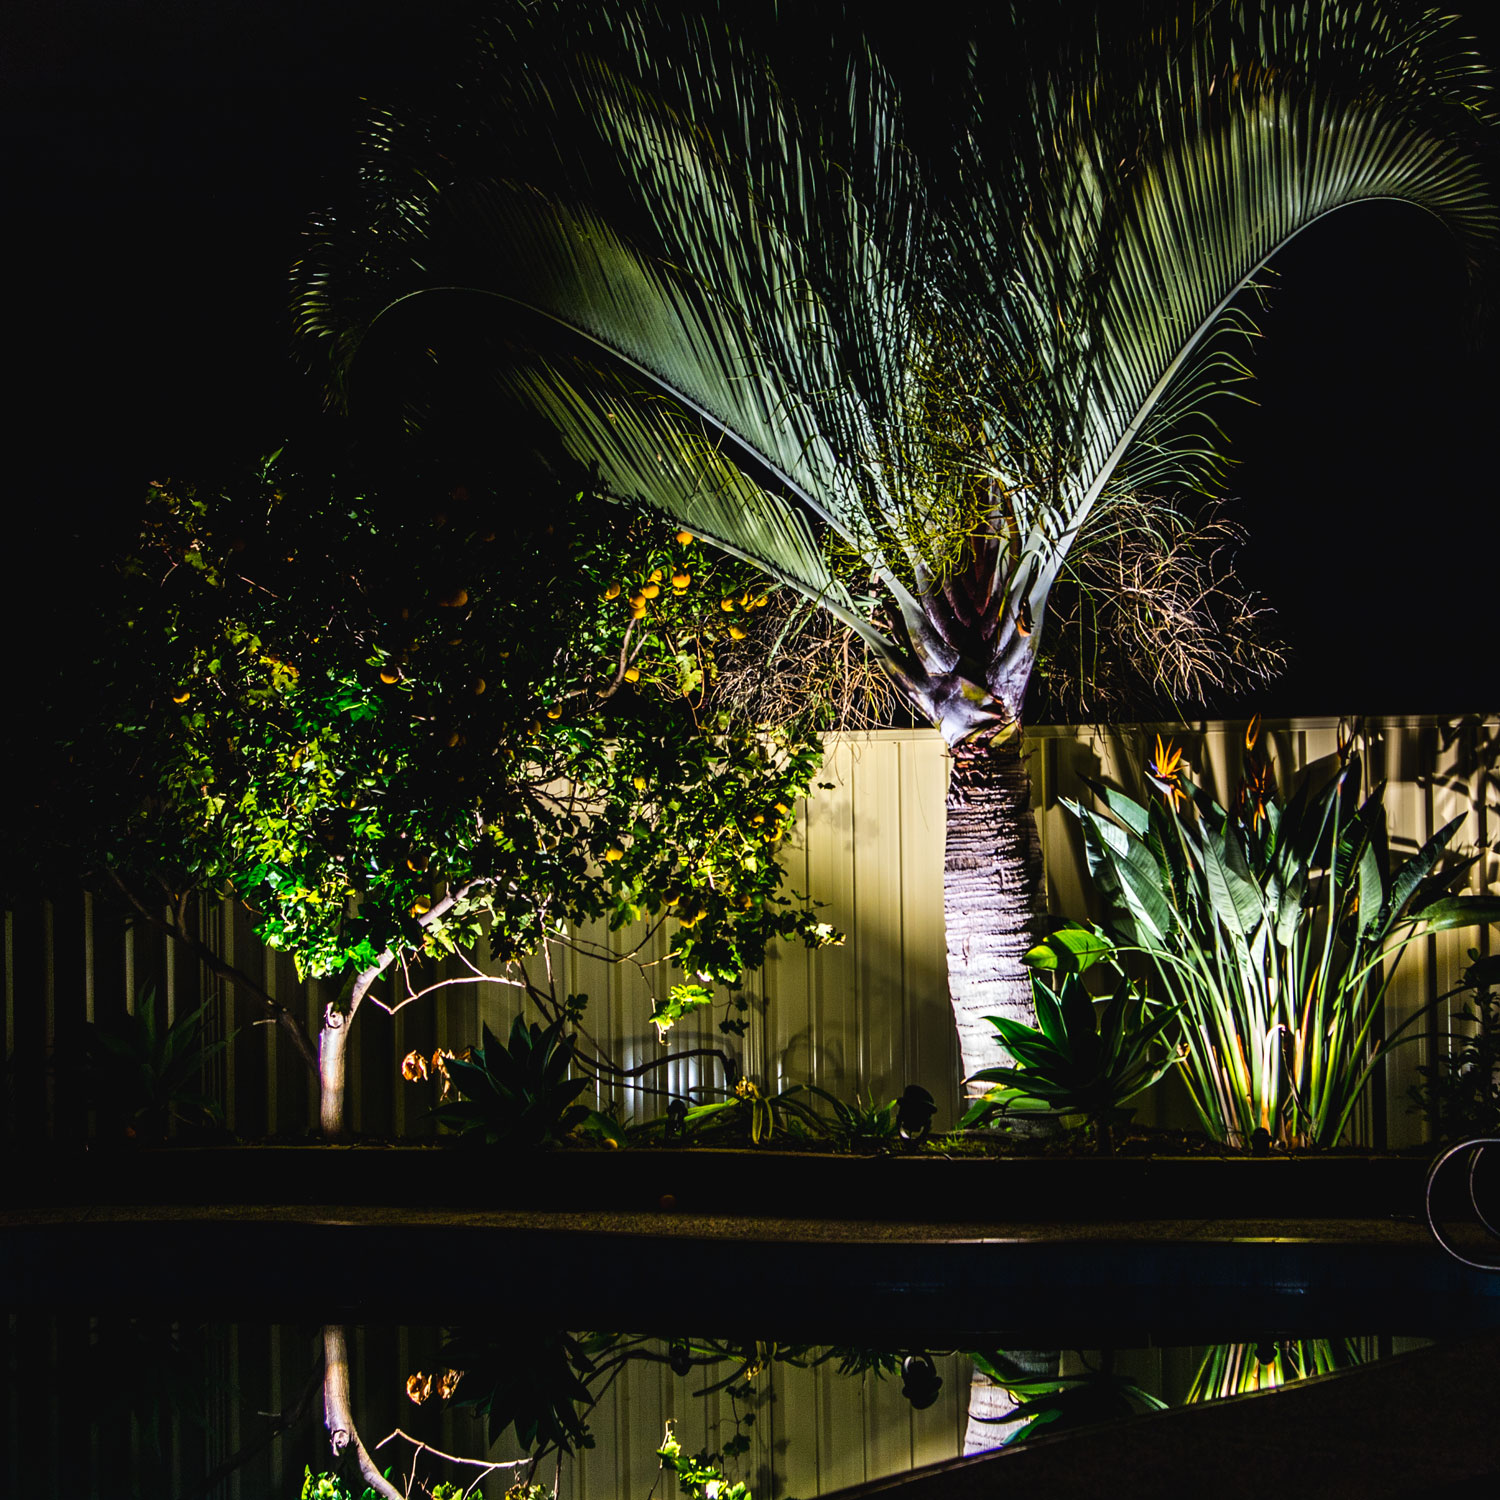
Shadowing
Used to project the look of an object, such as a tree or shrub onto an adjacent surface. This technique is ideal for trees that have open, delicate foliage. Shadowing adds drama to any landscape, lighting the object from ground level and angling upward creates a larger-than-life effect.
If using plant material to achieve this effect, plants will need to be periodically trimmed and spotlights may need to be relocated to compensate for natural growth.
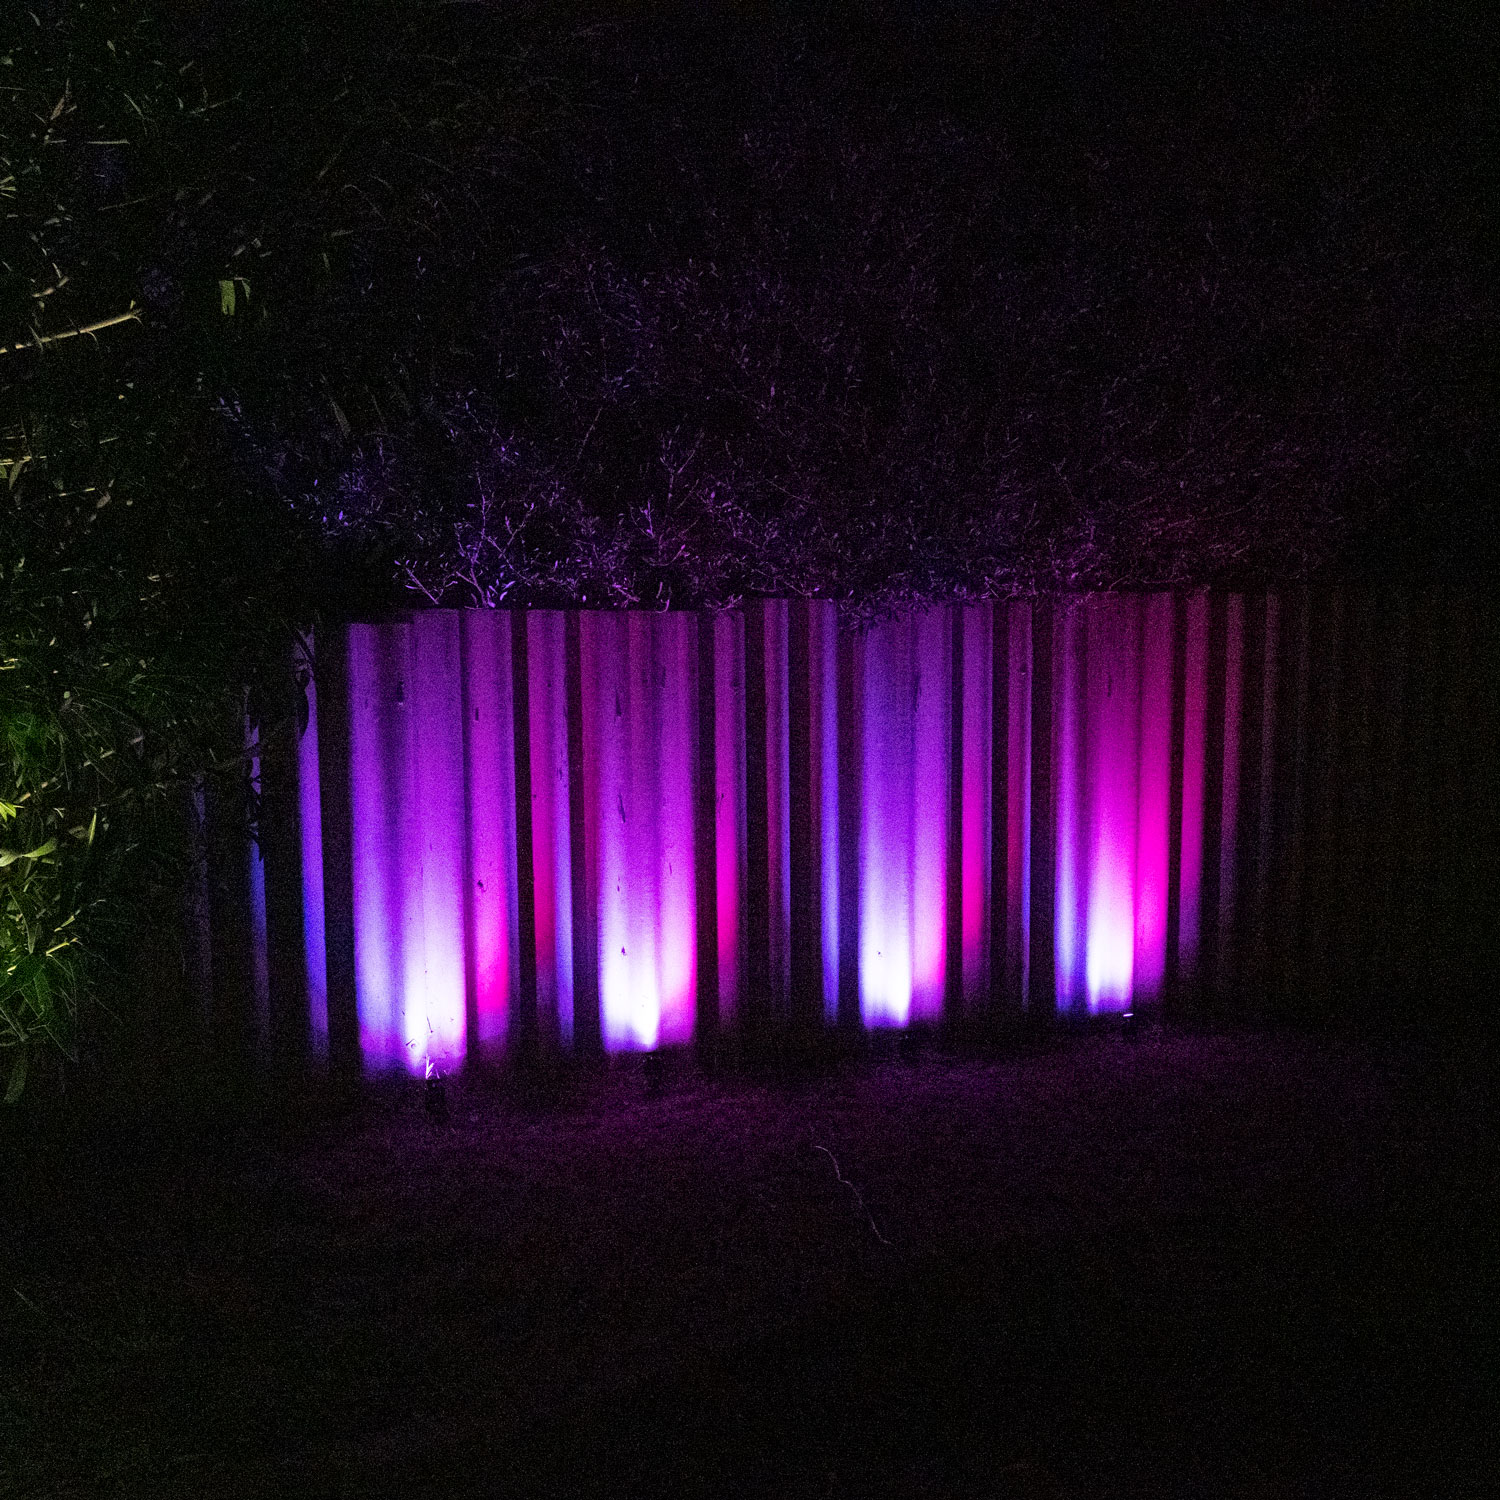
Wall Washing
Ideal for achieving efficient and unobtrusive security lighting. Carefully spaced, concealed lights create a soft, subtle effect changing a garden’s mood from day into night. Point spotlights towards highly reflective surfaces like painted walls so the maximum amount of light is disbursed.
This technique can be particularly interesting for walls surrounding pools or illuminating walkways down the side of a home. Use 43mm spotlights approximately 10cm from any wall positioning the fixture upwards until you’ve achieved your preferred look.
Tip: Take care to avoid uncomfortable glare from incorrectly positioned lights, particularly around dining areas. Lights should always point upwards at a 45º degree angle away from eye level.
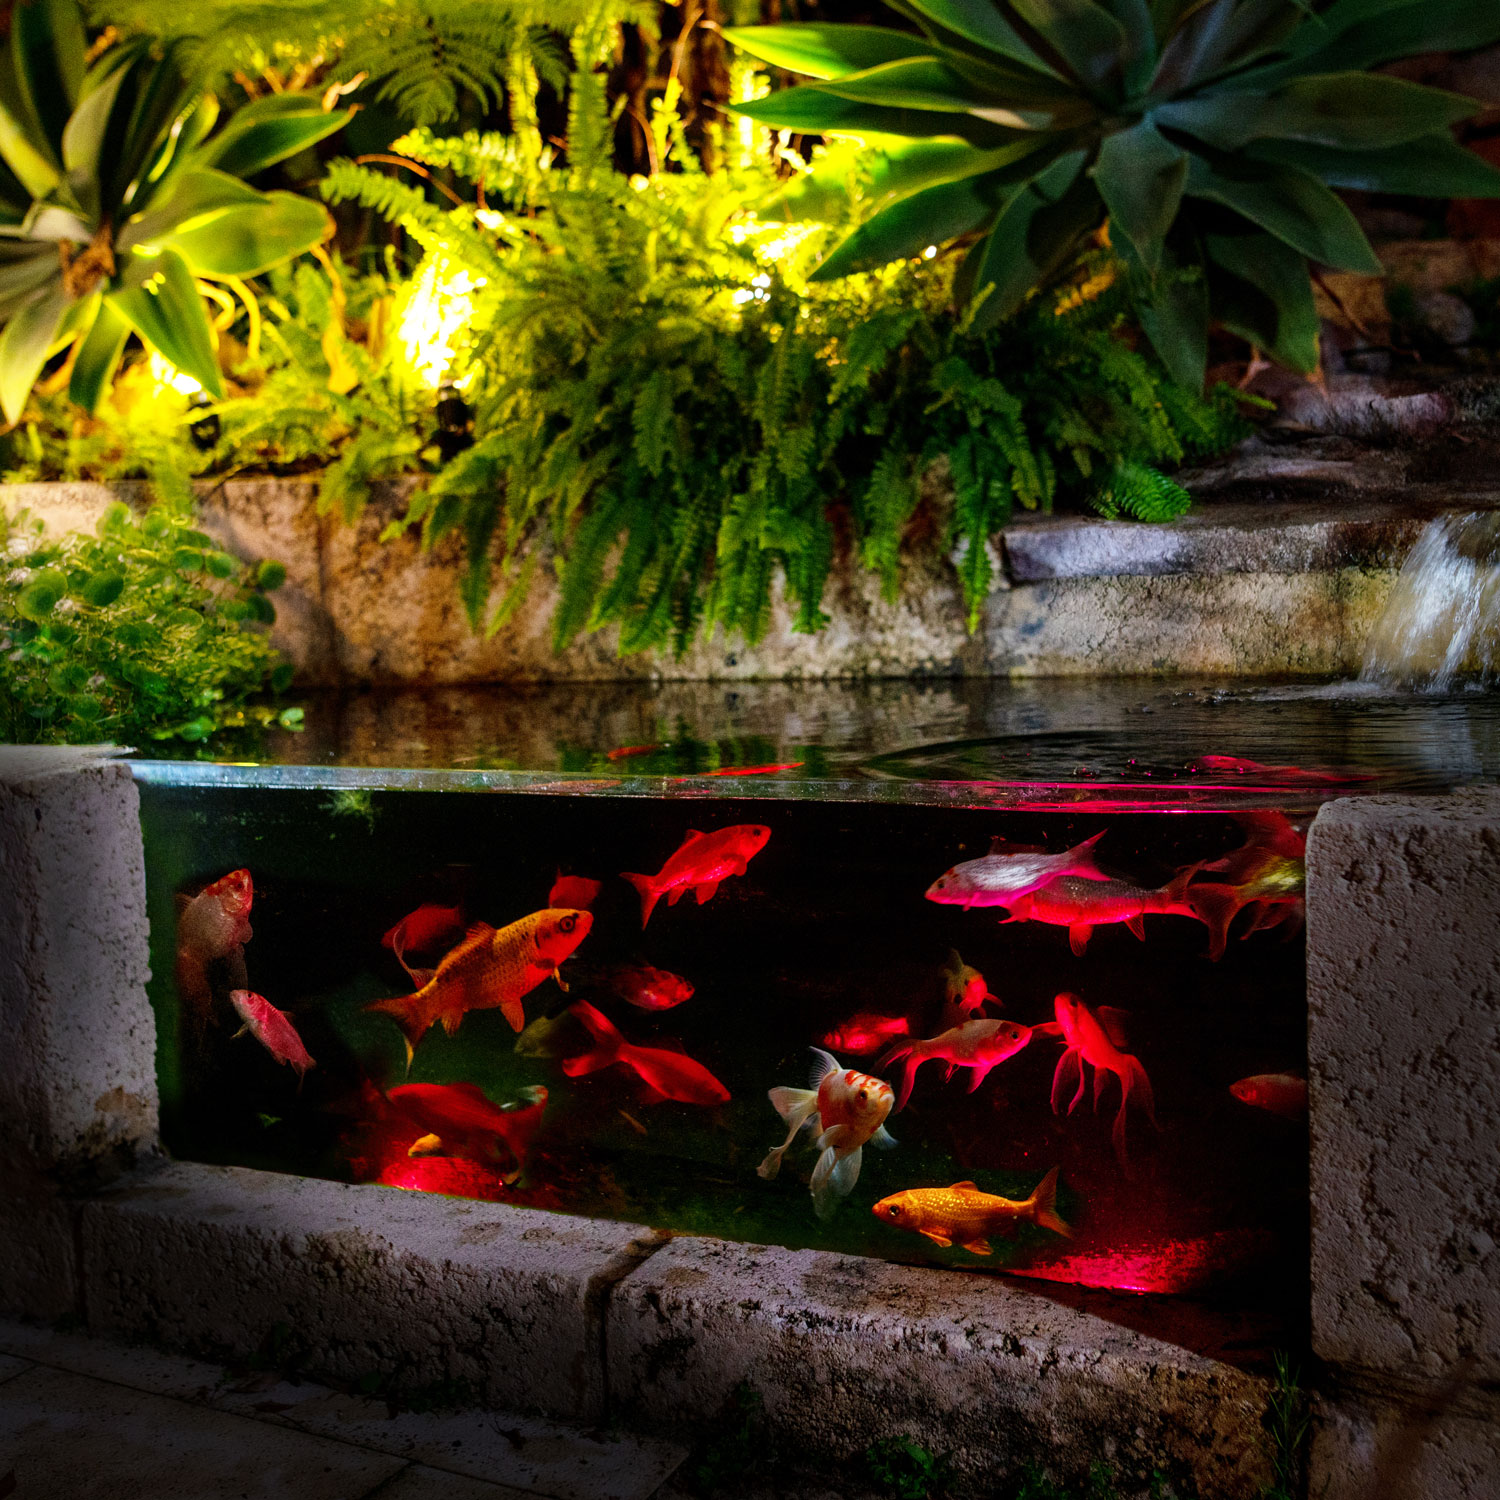
Pond Lighting
Create stunning reflections and add depth to your water feature at night by using Pond Lights. Secure a line of submersible lights to the base of the feature, or hide them under rocks and aquatic plants if you have a pond.
To highlight key features such as waterfalls, point the light facing upwards toward the feature. To create reflections on the surface of the water, place the lights along the edges of the pond facing inwards. Pond lights will also help prevent unwanted predators from attacking fish.
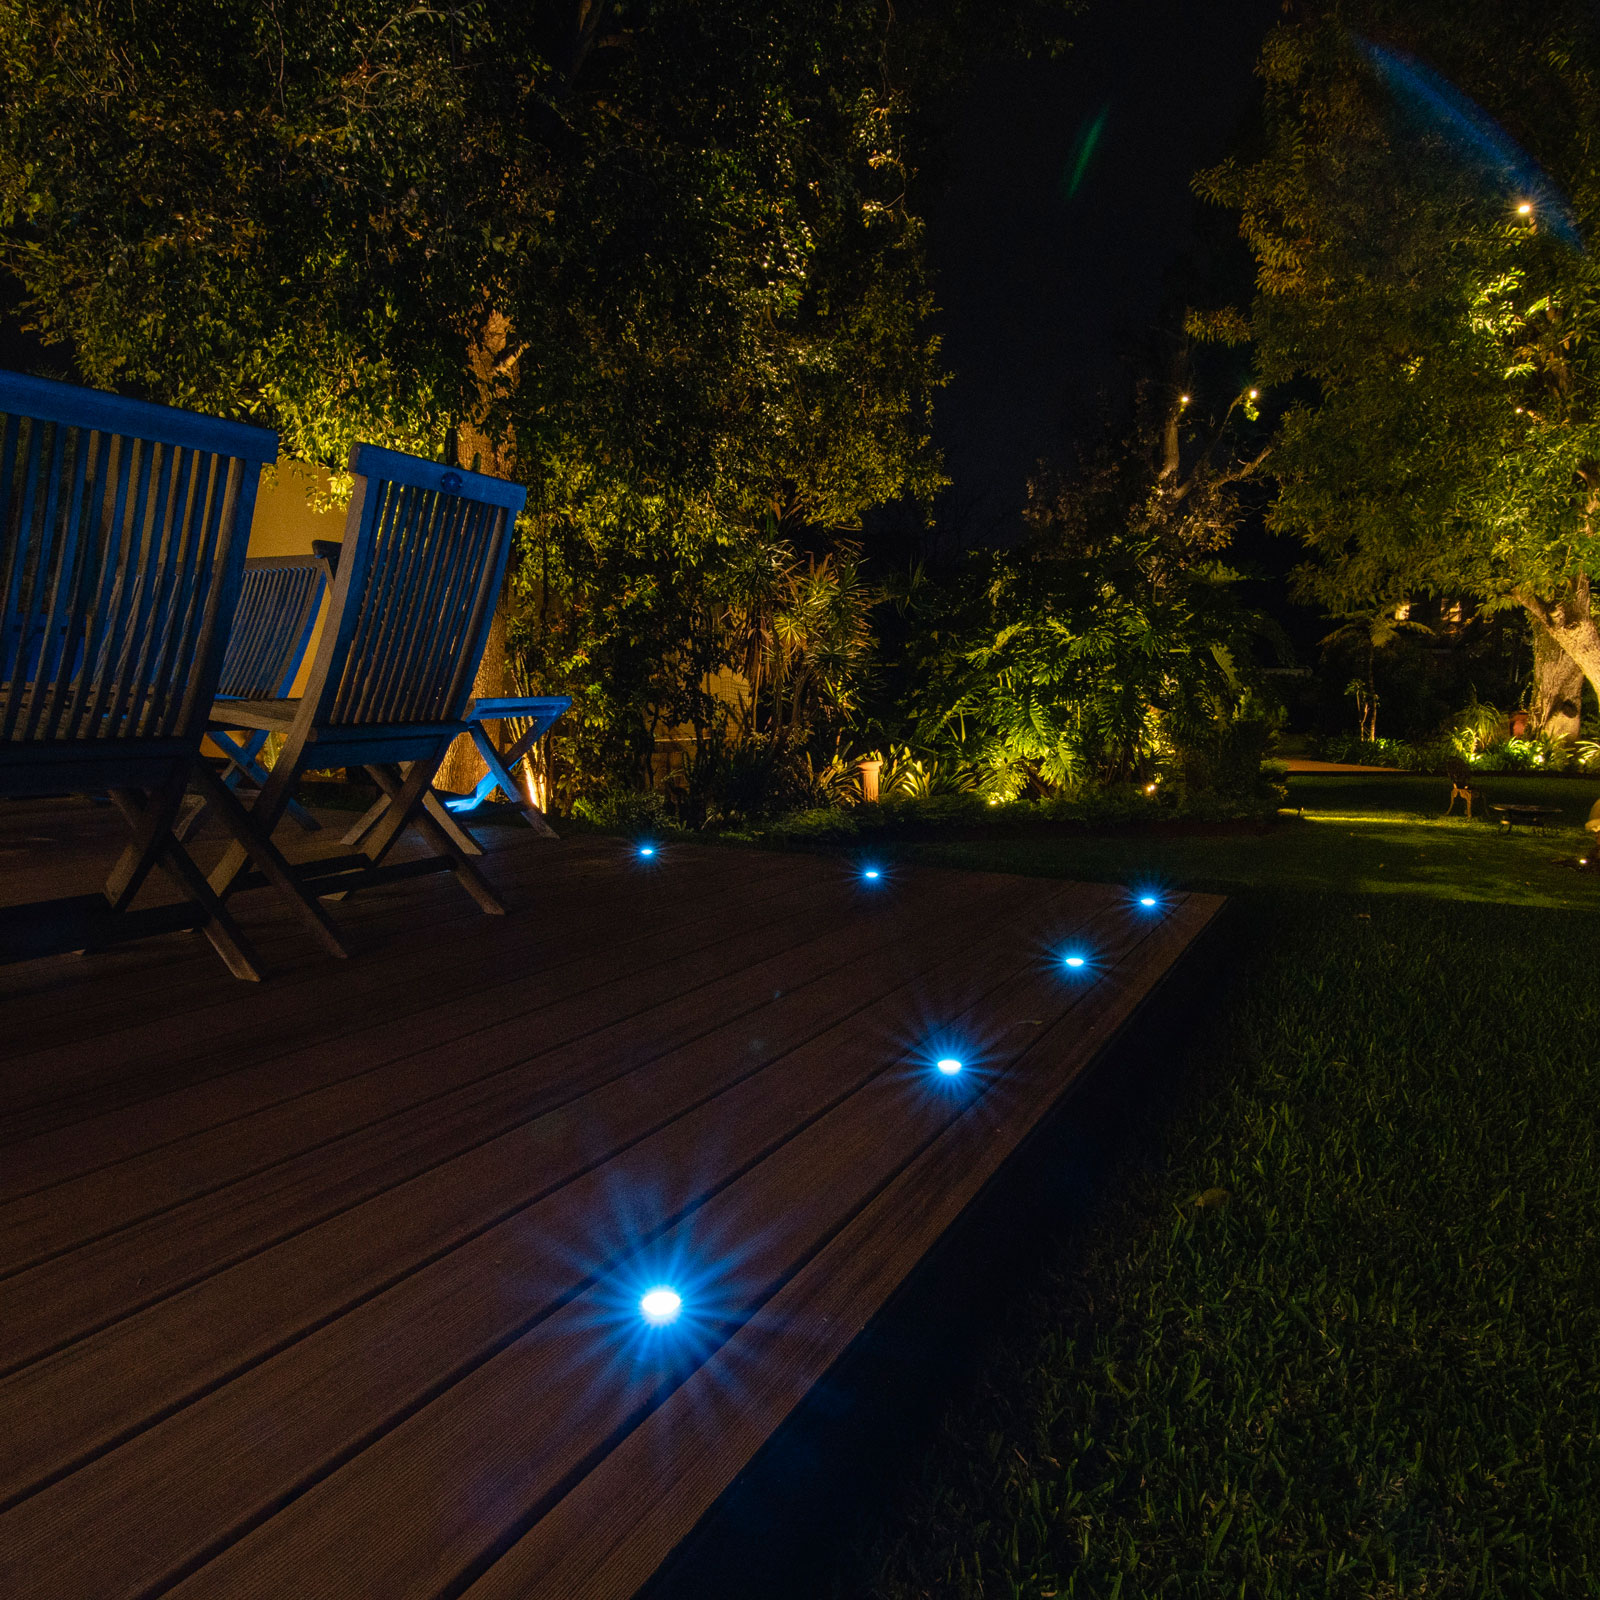
Deck Lighting
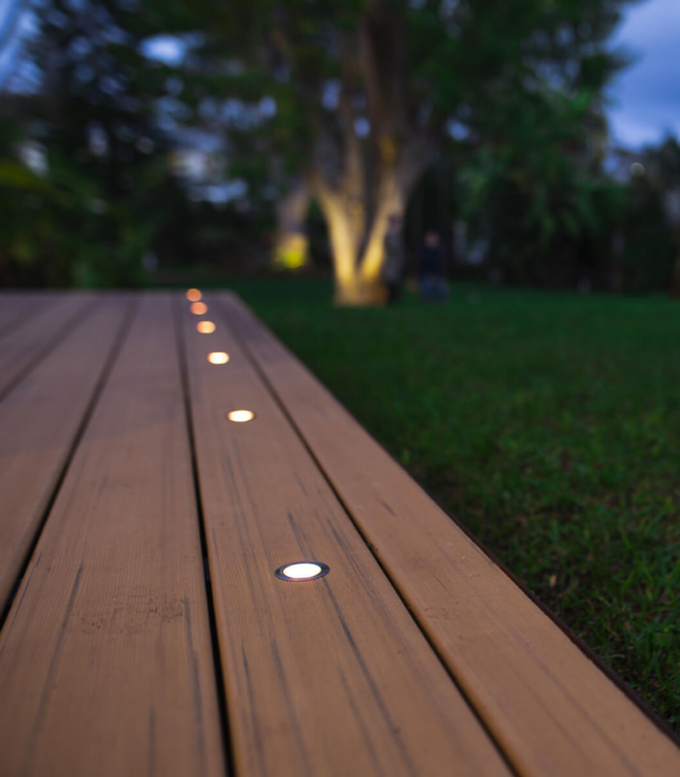
Deck lights are perfect for creating unobtrusive illumination to stairways, pathways, entertainment decks and even dance floors. By increasing the visibility of walkways, deck lights are the ideal fixture for added safety and security around the home.
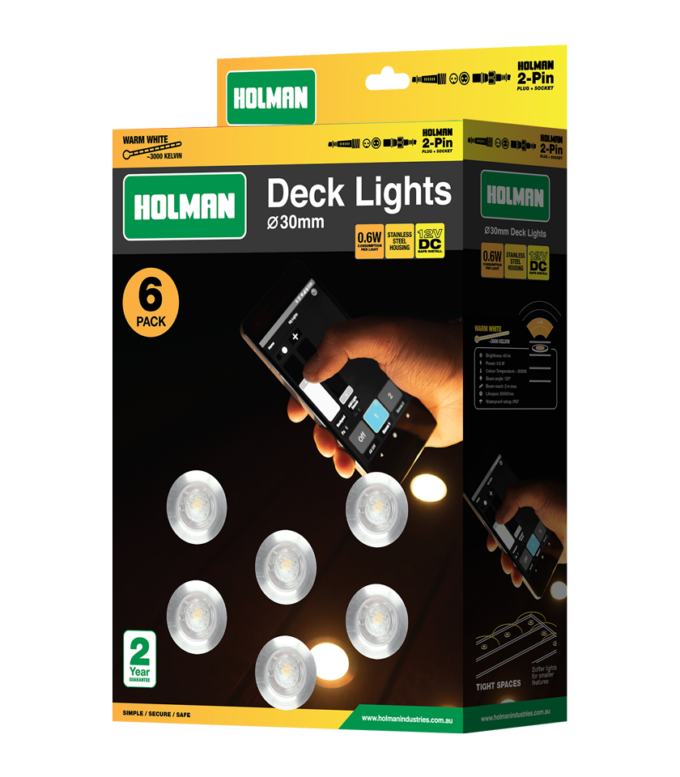
We manufacture a range of 30mm and 45mm deck lights in both Warm White and RGB Colour. Ideal for illuminating larger areas and entertainment spaces. Deck lights provide unobtrusive lighting for patios or staircases.
Get more practical gifts, straight to your inbox!
If you want to get notified as soon as we publish a blog, sign up to our newsletter! You’ll also receive exclusive deals and be the first to know about any new products.





 No products in the cart.