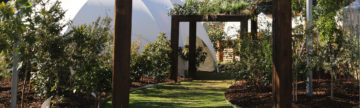

Our GreenWall™ range can accommodate a vast variety of locations around the outside of the house.
We teamed up with The Garden Gurus and visited The Standard in Perth to set up a beautiful set of GreenWall™ Vertical Planting Kits [GW1001] in their lush outdoor dining area 🌞🌞🌞 We chose hardy full-sun plants for this bright spot, knowing their watering needs will be taken care of with the built-in watering system. Our entire GreenWall™ range is DIY friendly and specifically designed to be installed at home with basic tools, so this living wall look can easily be transported to a corner of your courtyard or outdoor entertaining area.
Plants
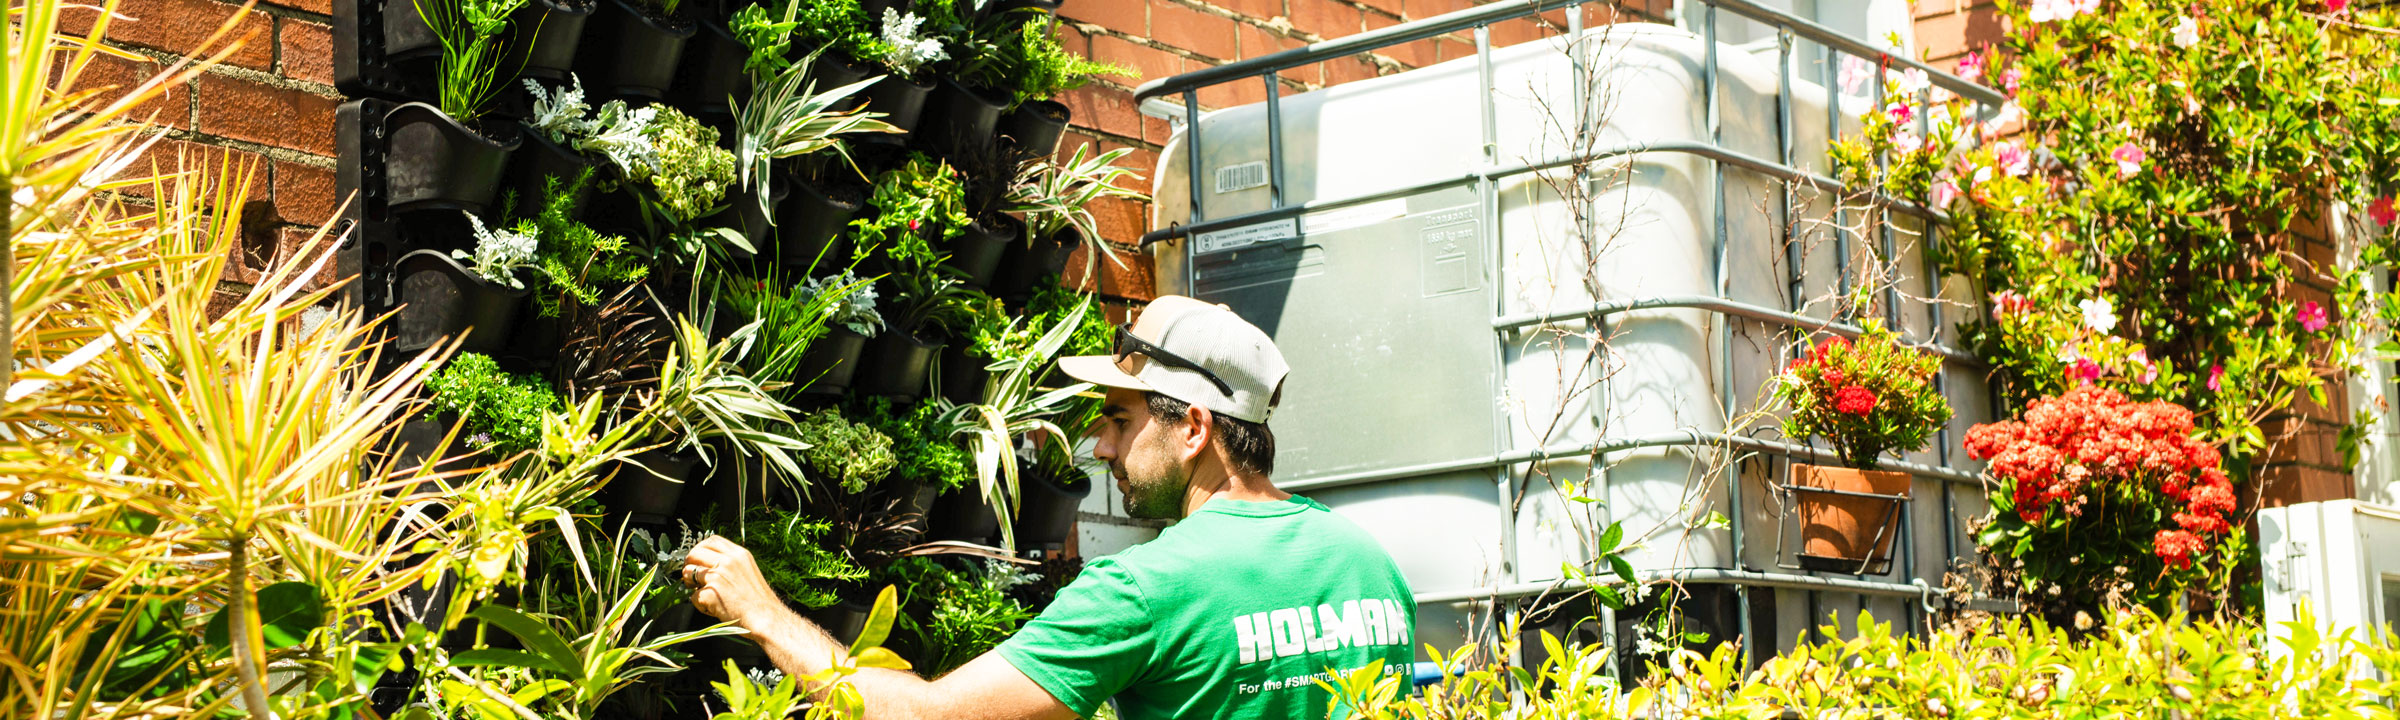
We recommend choosing plants based on your environment, and where your GreenWall™ will be located. Certain plants require a particular amount of direct sunlight and shade. Ensure your plant selection is suitable for the location of your GreenWall™.
Our wall receives 6-8 hours of filtered sunlight a day. We planted a variety of ferns, Devil’s Ivy and Moses in a Cradle. Download our handy plant selector chart for some great GreenWall™ plant ideas.
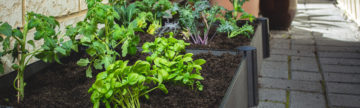
Soil
As the plants are not in the ground, the pots require a really good quality potting mix to hold water and receive the right nutrients. We do not suggest using regular garden bed soil as it will harden and block the GreenWall™ drainage.
We recommend using coir peat mixed with good quality potting mix (30/70). This will ensure your plants receive all the essential nutrients and because has great water retention properties, your plants won’t dry too fast.

Setting up Your GreenWall™

1. Make the Most of Your Space
Some initial planning always goes a long way. Our GreenWall™ Vertical Planting Kits are connectable and modular, so your own vertical garden can be as compact or as large as you like.

2. Level the Panels
Hold the first module up to the wall and use a spirit level to ensure it is straight. This is critical if you plan to add additional modules.

3. Mark the Mounting Holes
There are two circles with ‘flowers’ around them, place a marker in the hole and mark the wall. This is your guide for where to screw on the bracket.

4. Drill the Mounting Holes
Drill a hole where you marked and place a wall plug into the hole, then screw the metal bracket in place.

5. Hang your Wall Modules
Hang your first module on the wall. With the included coupling connect your second module and repeat steps 2, 3 and 4.

6. Plant Your Greenery
Remove your pots from the module and fill with plants and soil.

7. Mount Your Pots
Secure your planted pots to the module.

8. Check the Irrigation
Ensure that the adjustable drippers are placed into the soil in each pot.

9. Automate Your Watering
For accurate and even watering attach your hose or poly pipe to one of the modules, we recommend the BTX1 Bluetooth® Tap Timer.